Electro-Etching Introduction

These notes and resource links are now online: https://wivenhoeprint.works/electro-etching-introduction/

Printworks is developing electro-etch techniques as an alternative to nitric acid for etching a range of metals (copper, brass, steel, zinc and aluminium). Electro-etching offers printmakers a very wide range of tones, textures and fine line etching using safer and more environmental friendly processes. Explore the application of both traditional and unconventional grounds and resists together with some exciting new hybrid platemaking techniques. Apply freehand line and tone, collagraphic textures and abstract/photo-collage images on a range of metal plates for deep intaglio etching. Understand the basic science, materials and equipment needed to enable successful electro-etching in the workshop or home studio.

This two-day course combines craft and experimental platemaking and printing. Personal experimentation is encouraged in classes and in the optional)workshop sessions. Extensive use of test plates is encouraged.

DAY 1

Part 1 Practical Introduction

By the end of the first day you will take away two or three experimental etched metal plates that demonstrate some of the possibilities the technique offers.

Low-tech electro using salt water and other etching solutions
Use of batteries for small plates
Metals and etching action
Preparation: degreasing, basic resists & varnishes
Etching
Washing & cleaning off
Inking & printing
Plate care after printing
Cleaning up

Part 2: Tanks and Electro-Units

In part 2 we look in more detail at the theory and practical setup of typical electro-etch equipment. We also make some planned test plates to learn more about the way the etch process works with different resists and etch times.

Background: history, science and general guidelines
Electricity and water: basic safety
Tank Shapes: trays, vertical tanks
Electrical connectors, ‘bus-bars’ & insulator
Anodes and cathodes
Cathode: sheet or grille? (the ‘edge effect’)

Etched plate under the microscope
Test plates (resist, time, voltage and current)

Cleaning up

Part 3: Ground and Resists

In the third part we explore the variety of resists and grounds we can use with electro-etches to achieve an extensive range of texture and tone.

Traditional (Bitumen) Grounds
Acrylic Soft and Hard Ground
Acrylic Varnishes and Floor Waxes
Baldwins Ink Ground (BIG)
Stencils and Tapes
Varnishes, Enamels, Sharpies etc.
Other/Hybrid Resists

DAY 2

Part 4: Creative Tone, Stop-out, Multiple and Localised Bites

Traditional etching uses different processes to achieve fine even plate tones (Aquatint, Mezzotint, Spit-bite etc). We start by looking at these and at comparable ways to achieve controlled tone with electro- and other non-toxic etching. We see how to make the etch work more on certain areas of the plate and how to gauge etching time to intensify local tones or added textures.

Part 5: Working larger

In day 2 we will work on one or two plates (A5 size). We will employ some of the techniques and mark-making processes we have been developing on the first day and will learn how to use bigger tanks and a wider range of etching solutions.

By the end of Day 2 we should have prepared, eyched and proofed one or two complete intaglio prints and will see how the final proofs compare with the sorts of marks tones and textures we would normally produce using traditional chemical etching.

Going Further: other experimental electro-etch processes

These are some of the further areas for exploration that you may want to look atafter the two-day course. We will arrange some Open Access sessions where you will have the opportunity to ake these further.

Semi-dry etching
Open bite tone
Photopolymer and photo-emulsion resists
Using screen inks and screen emulsions as etching resists
Hybrid processes: screenprinting halftone resists onto plates
Sacrificial metal plates
Reverse etching (relief electroplating)

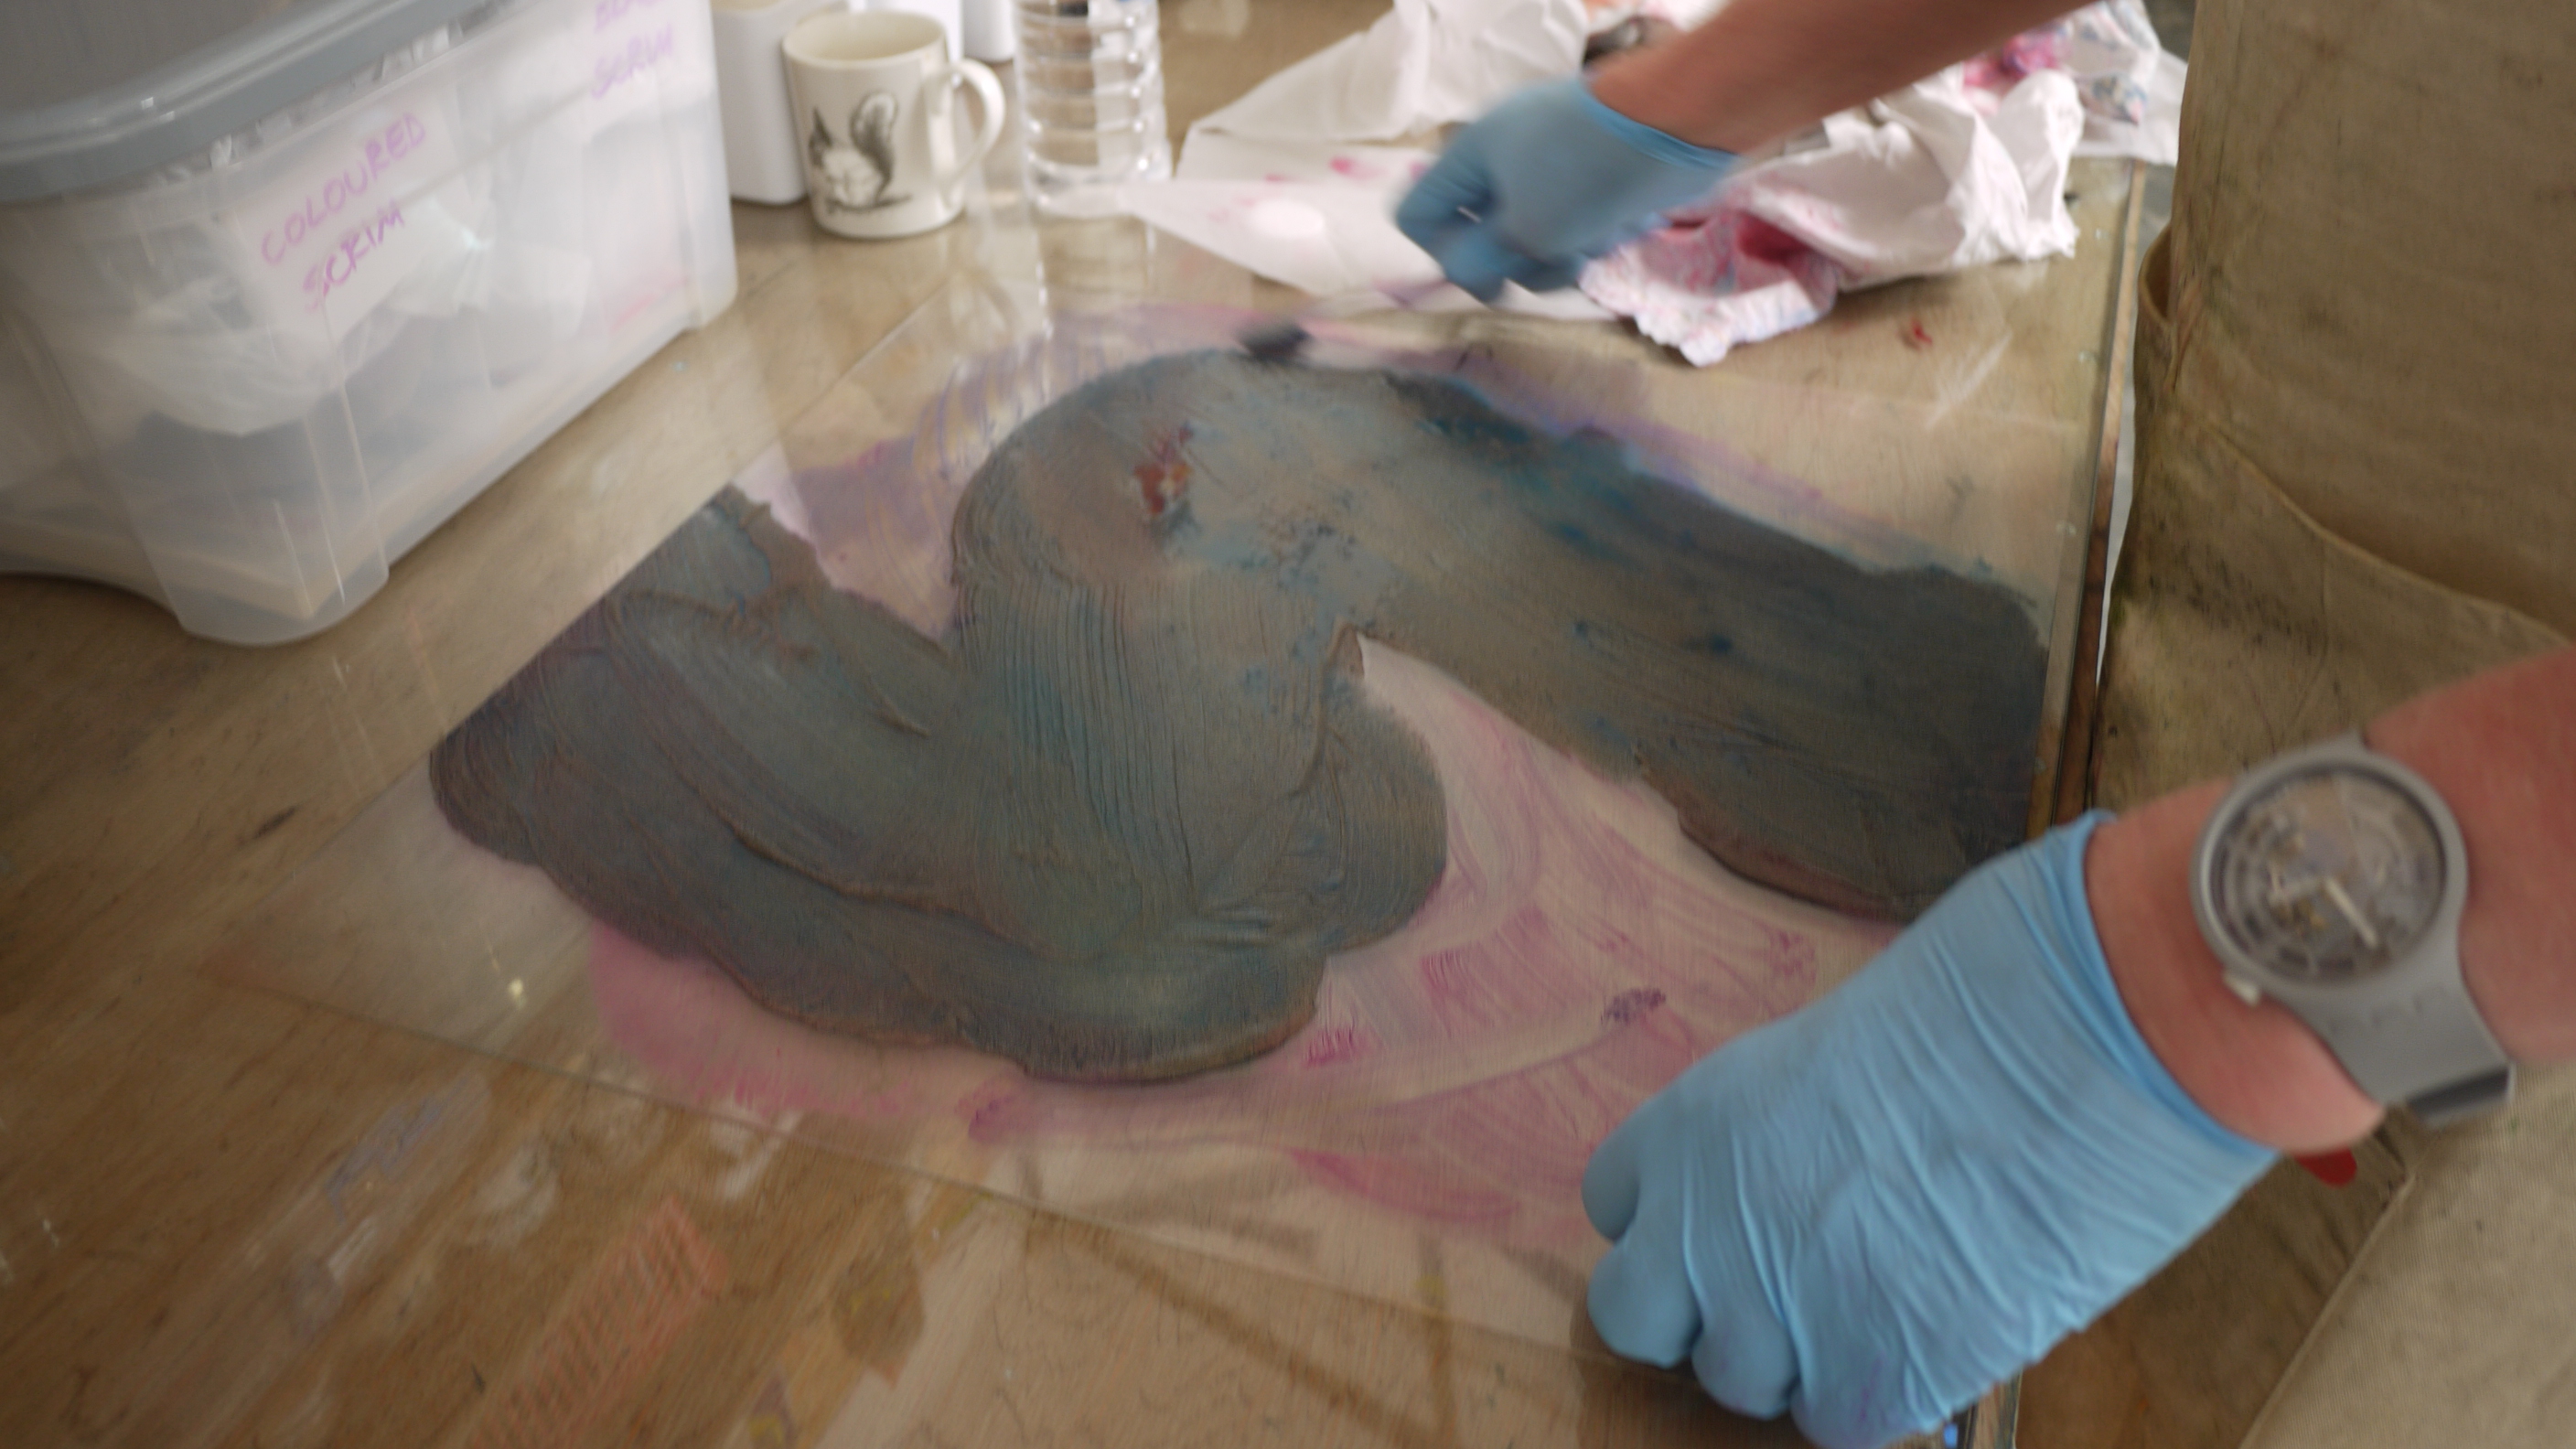
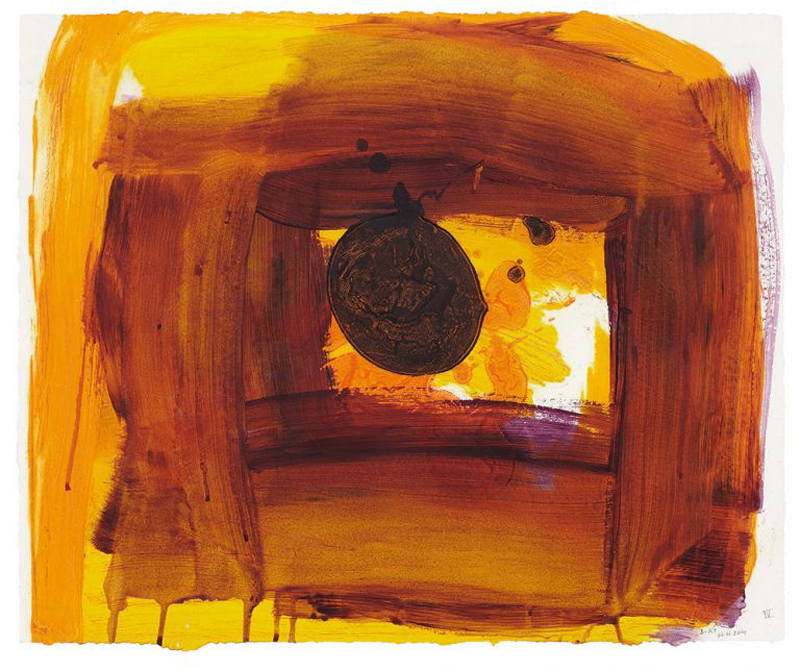
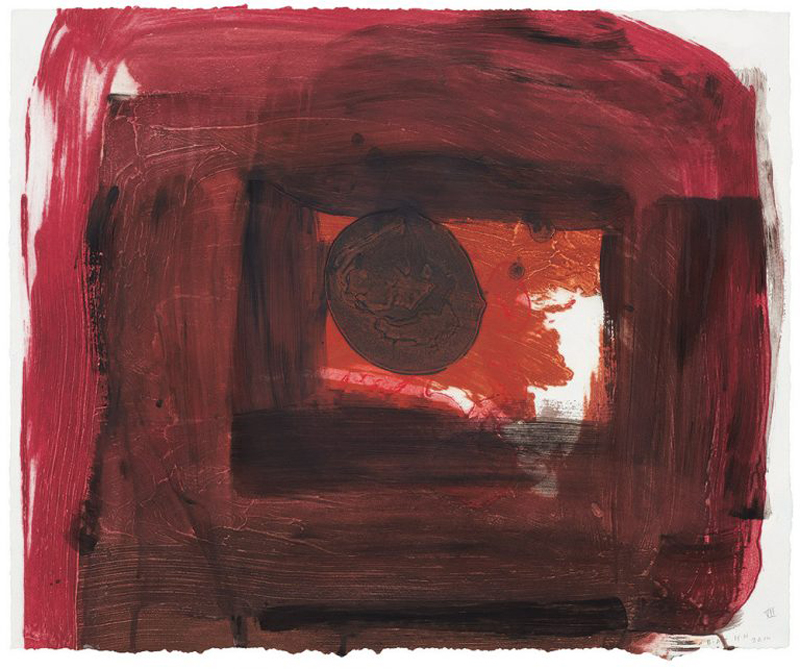
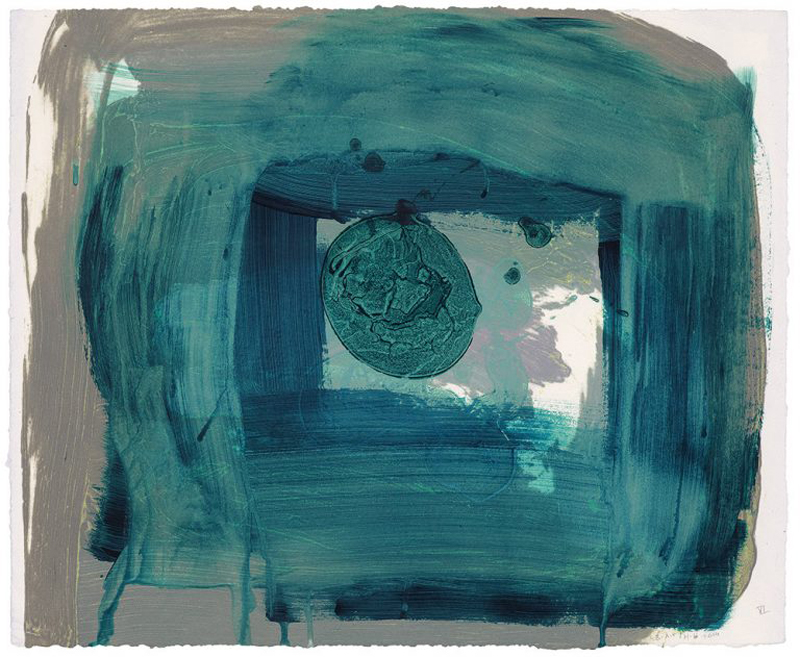
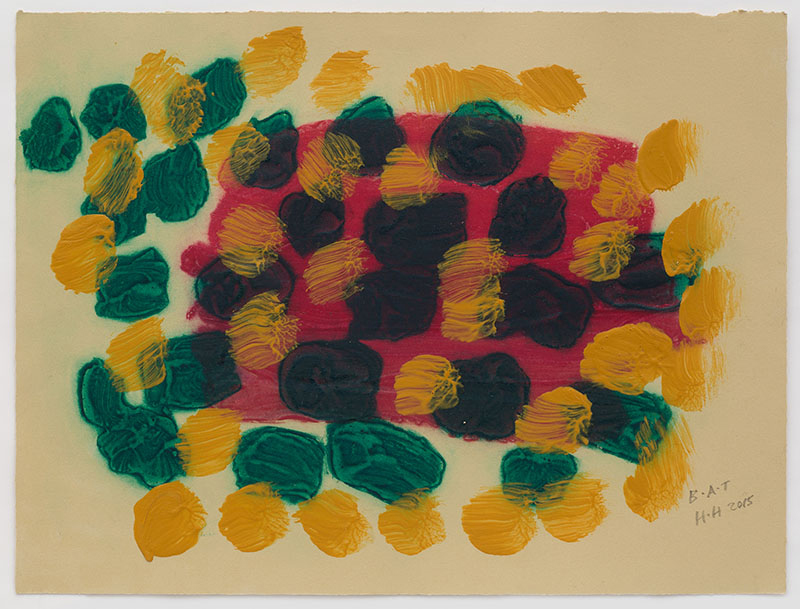
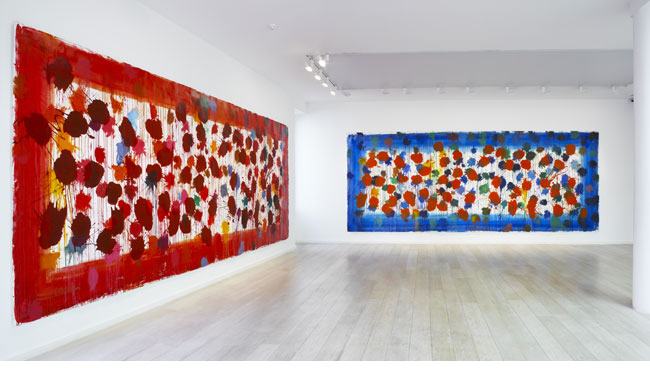
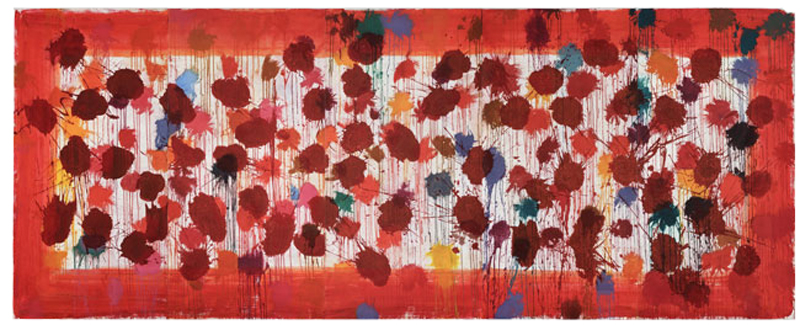
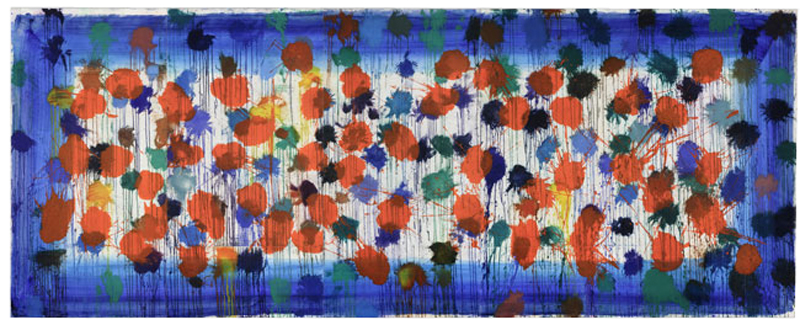
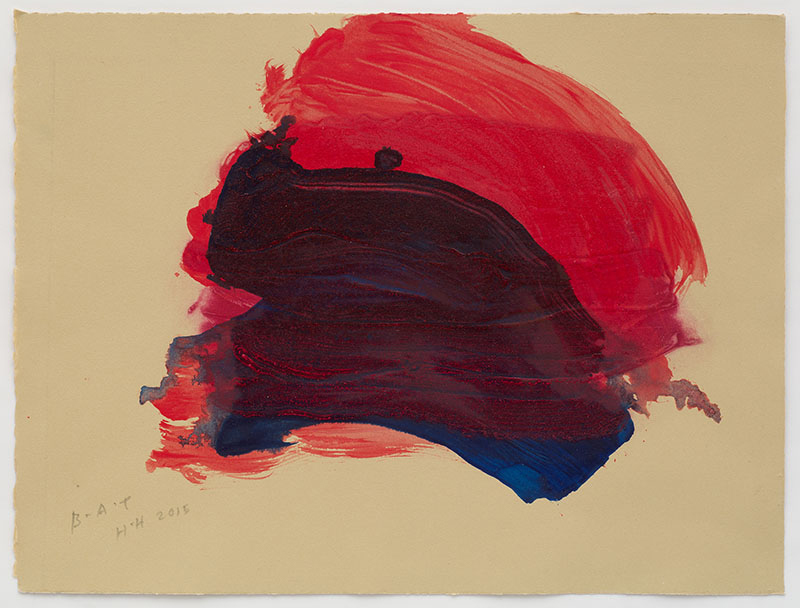
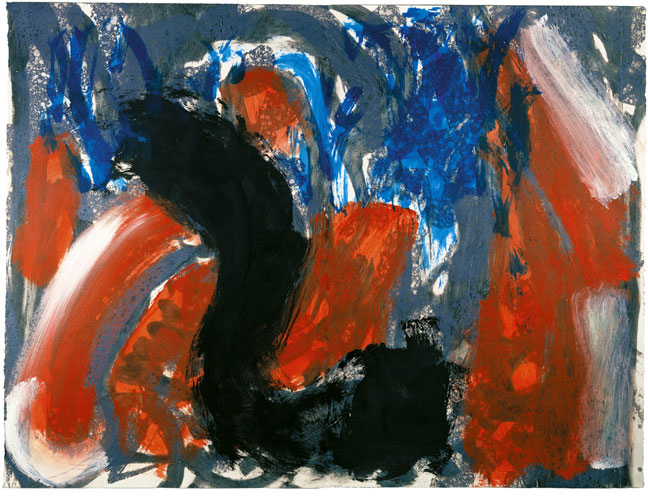
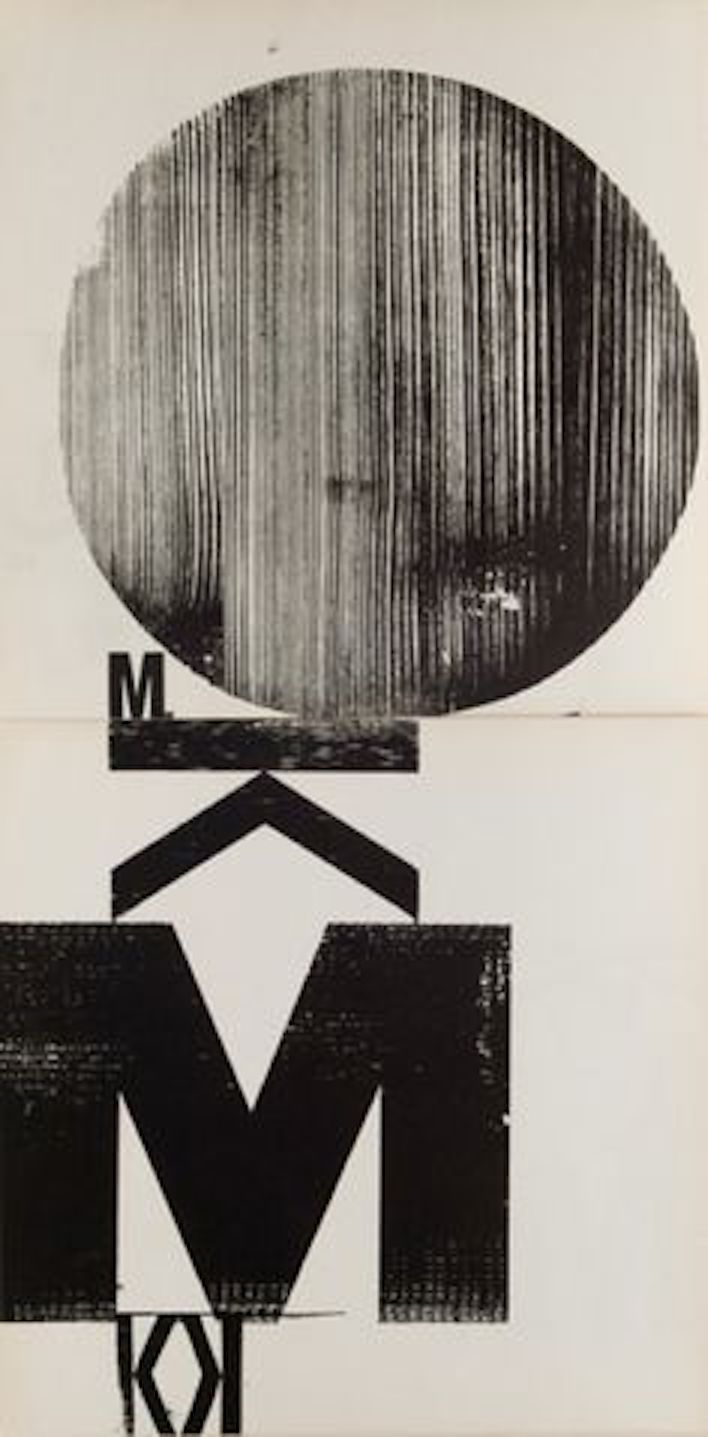
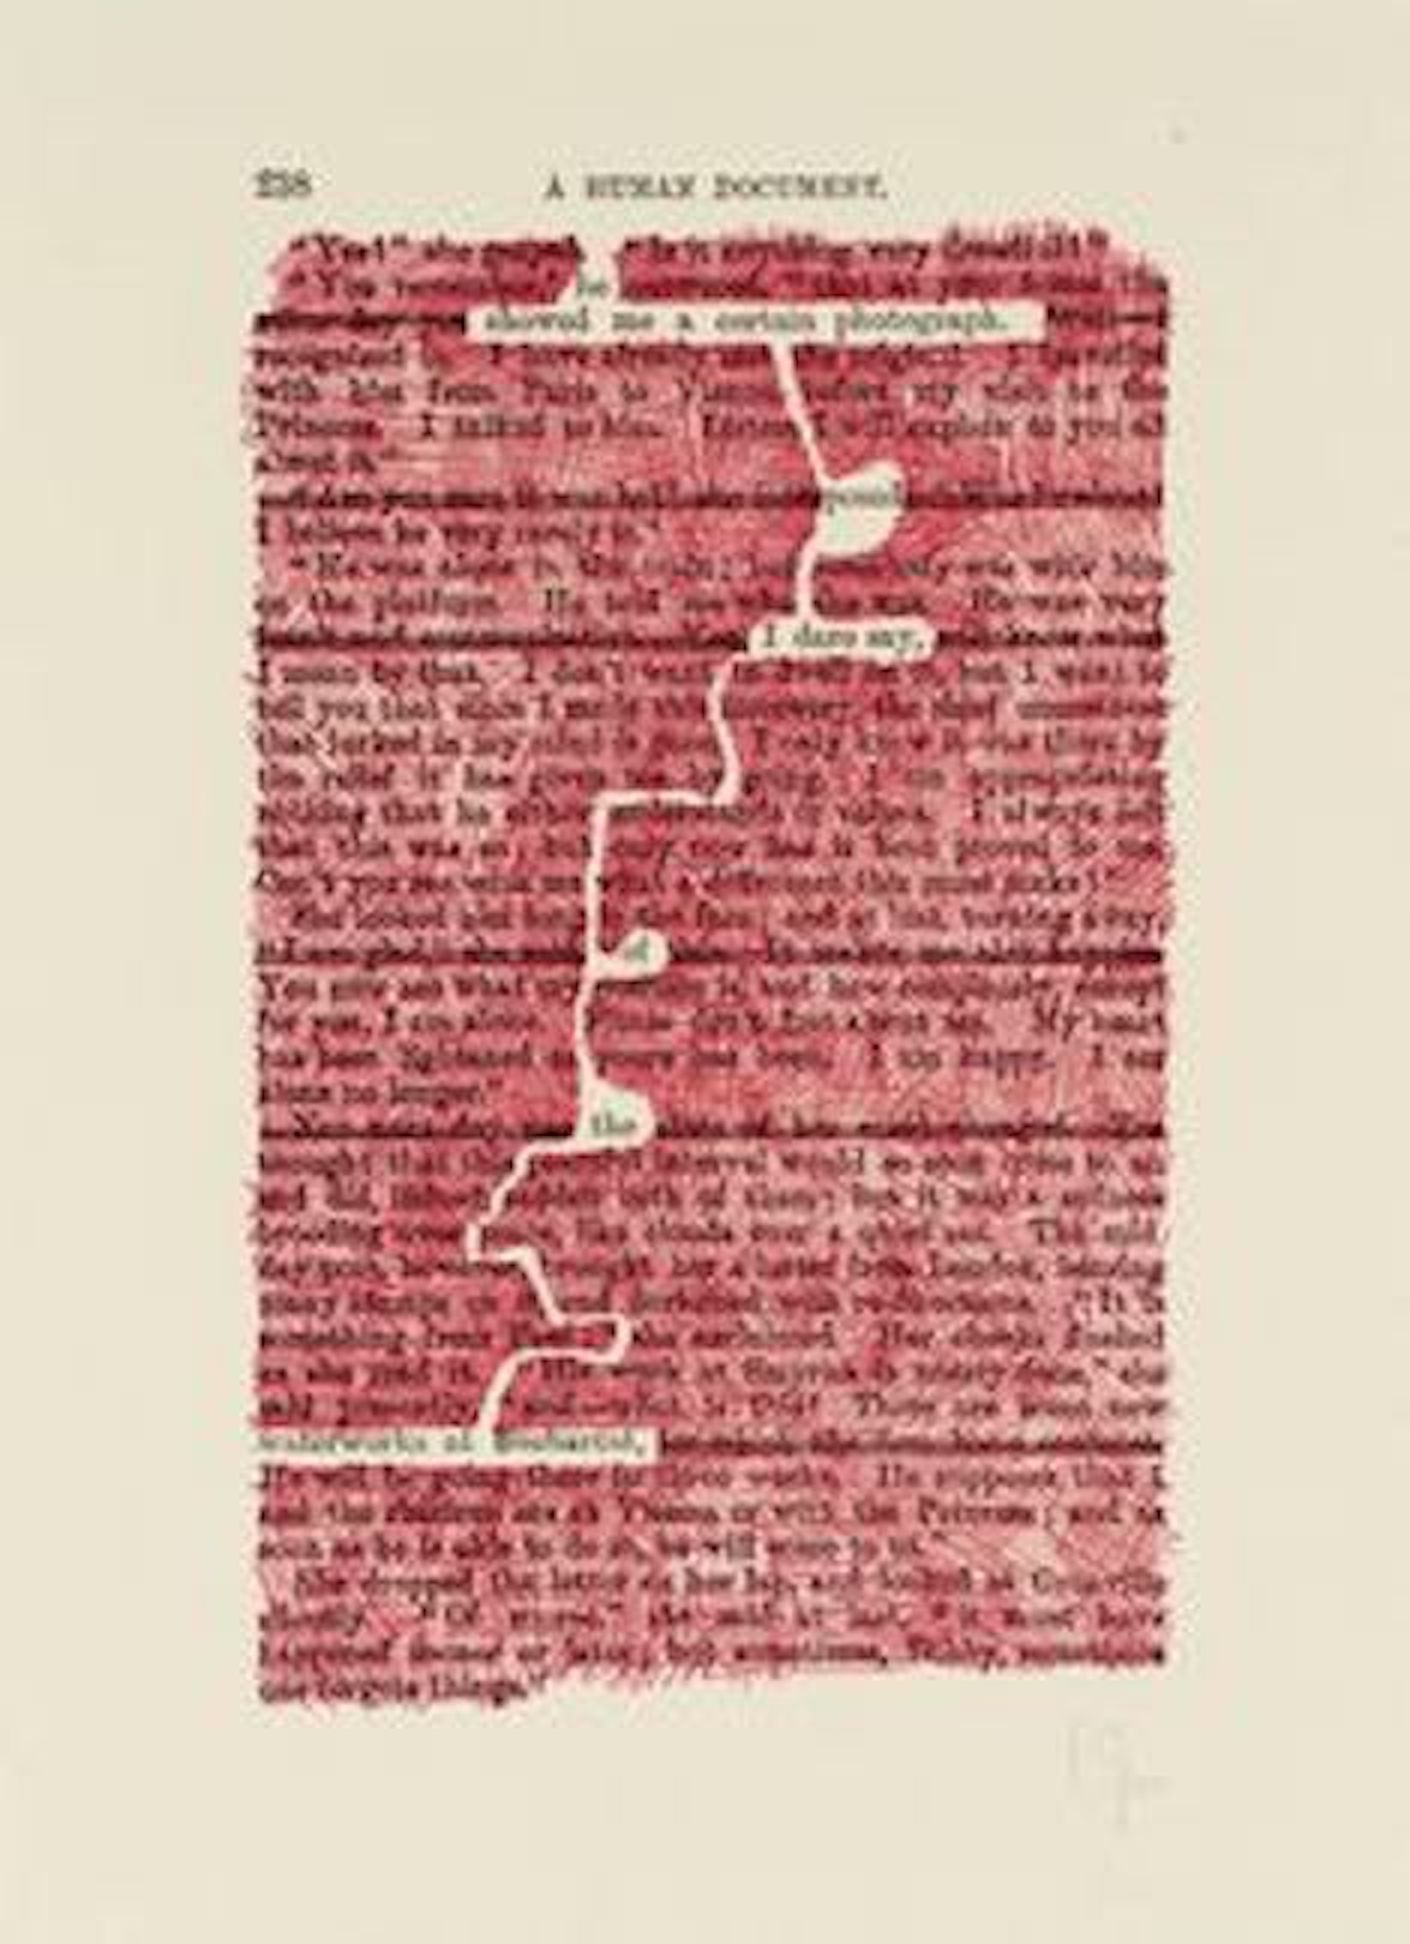
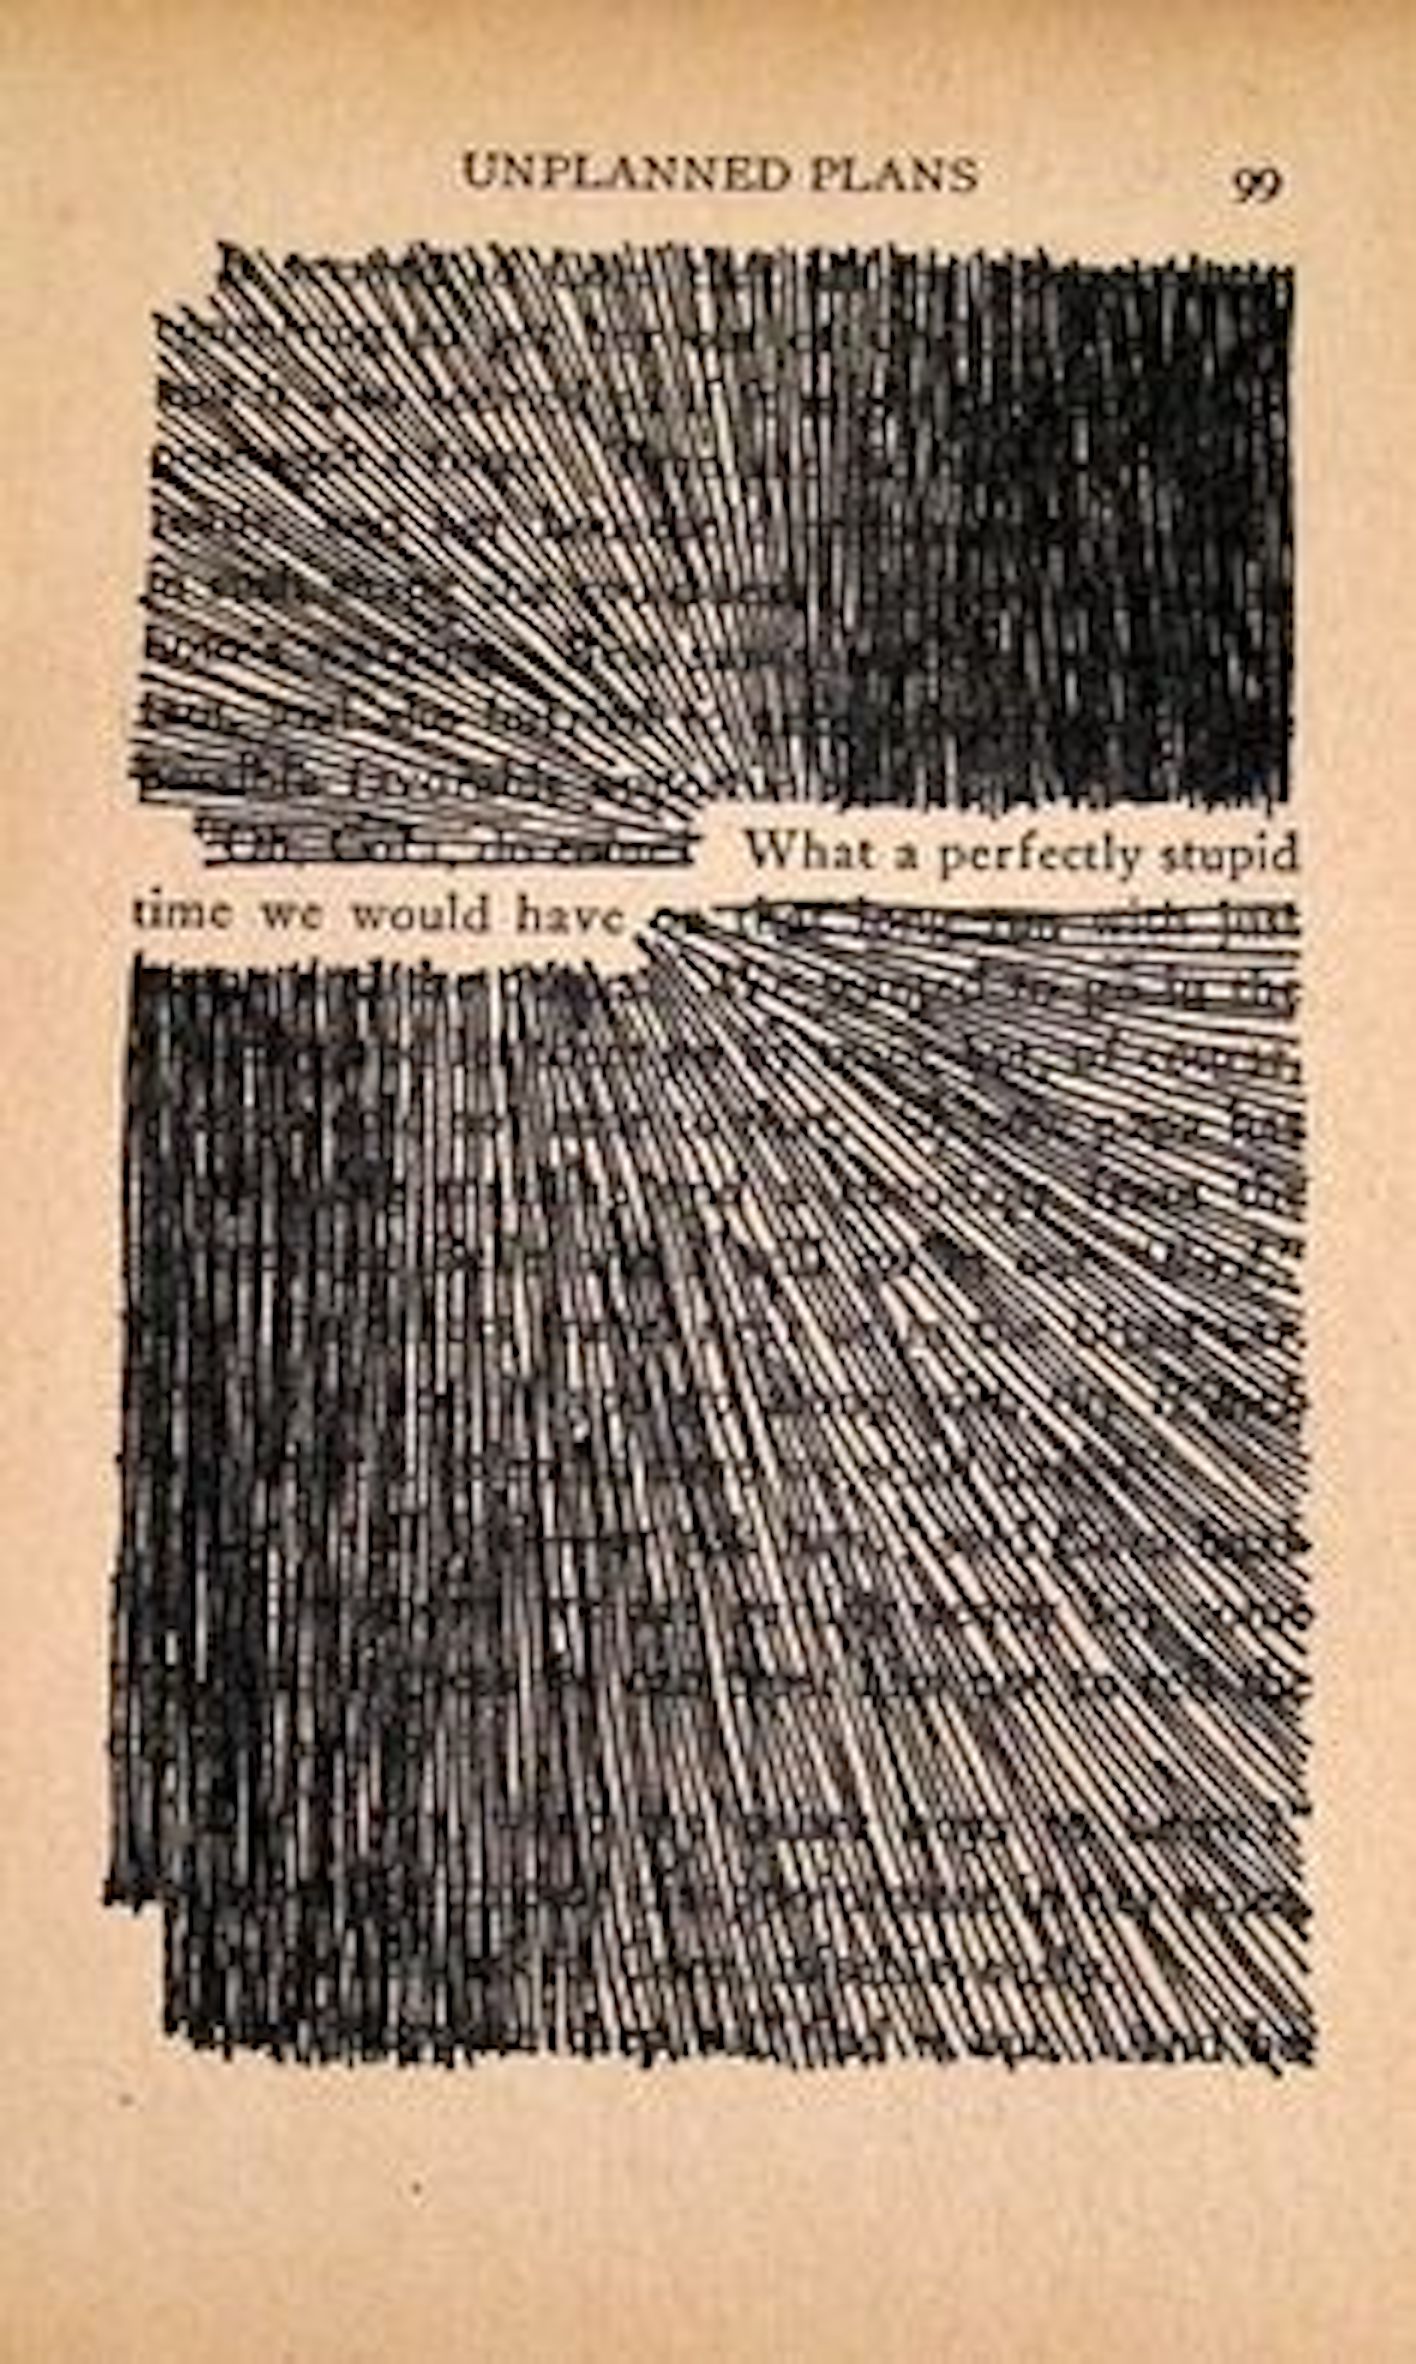
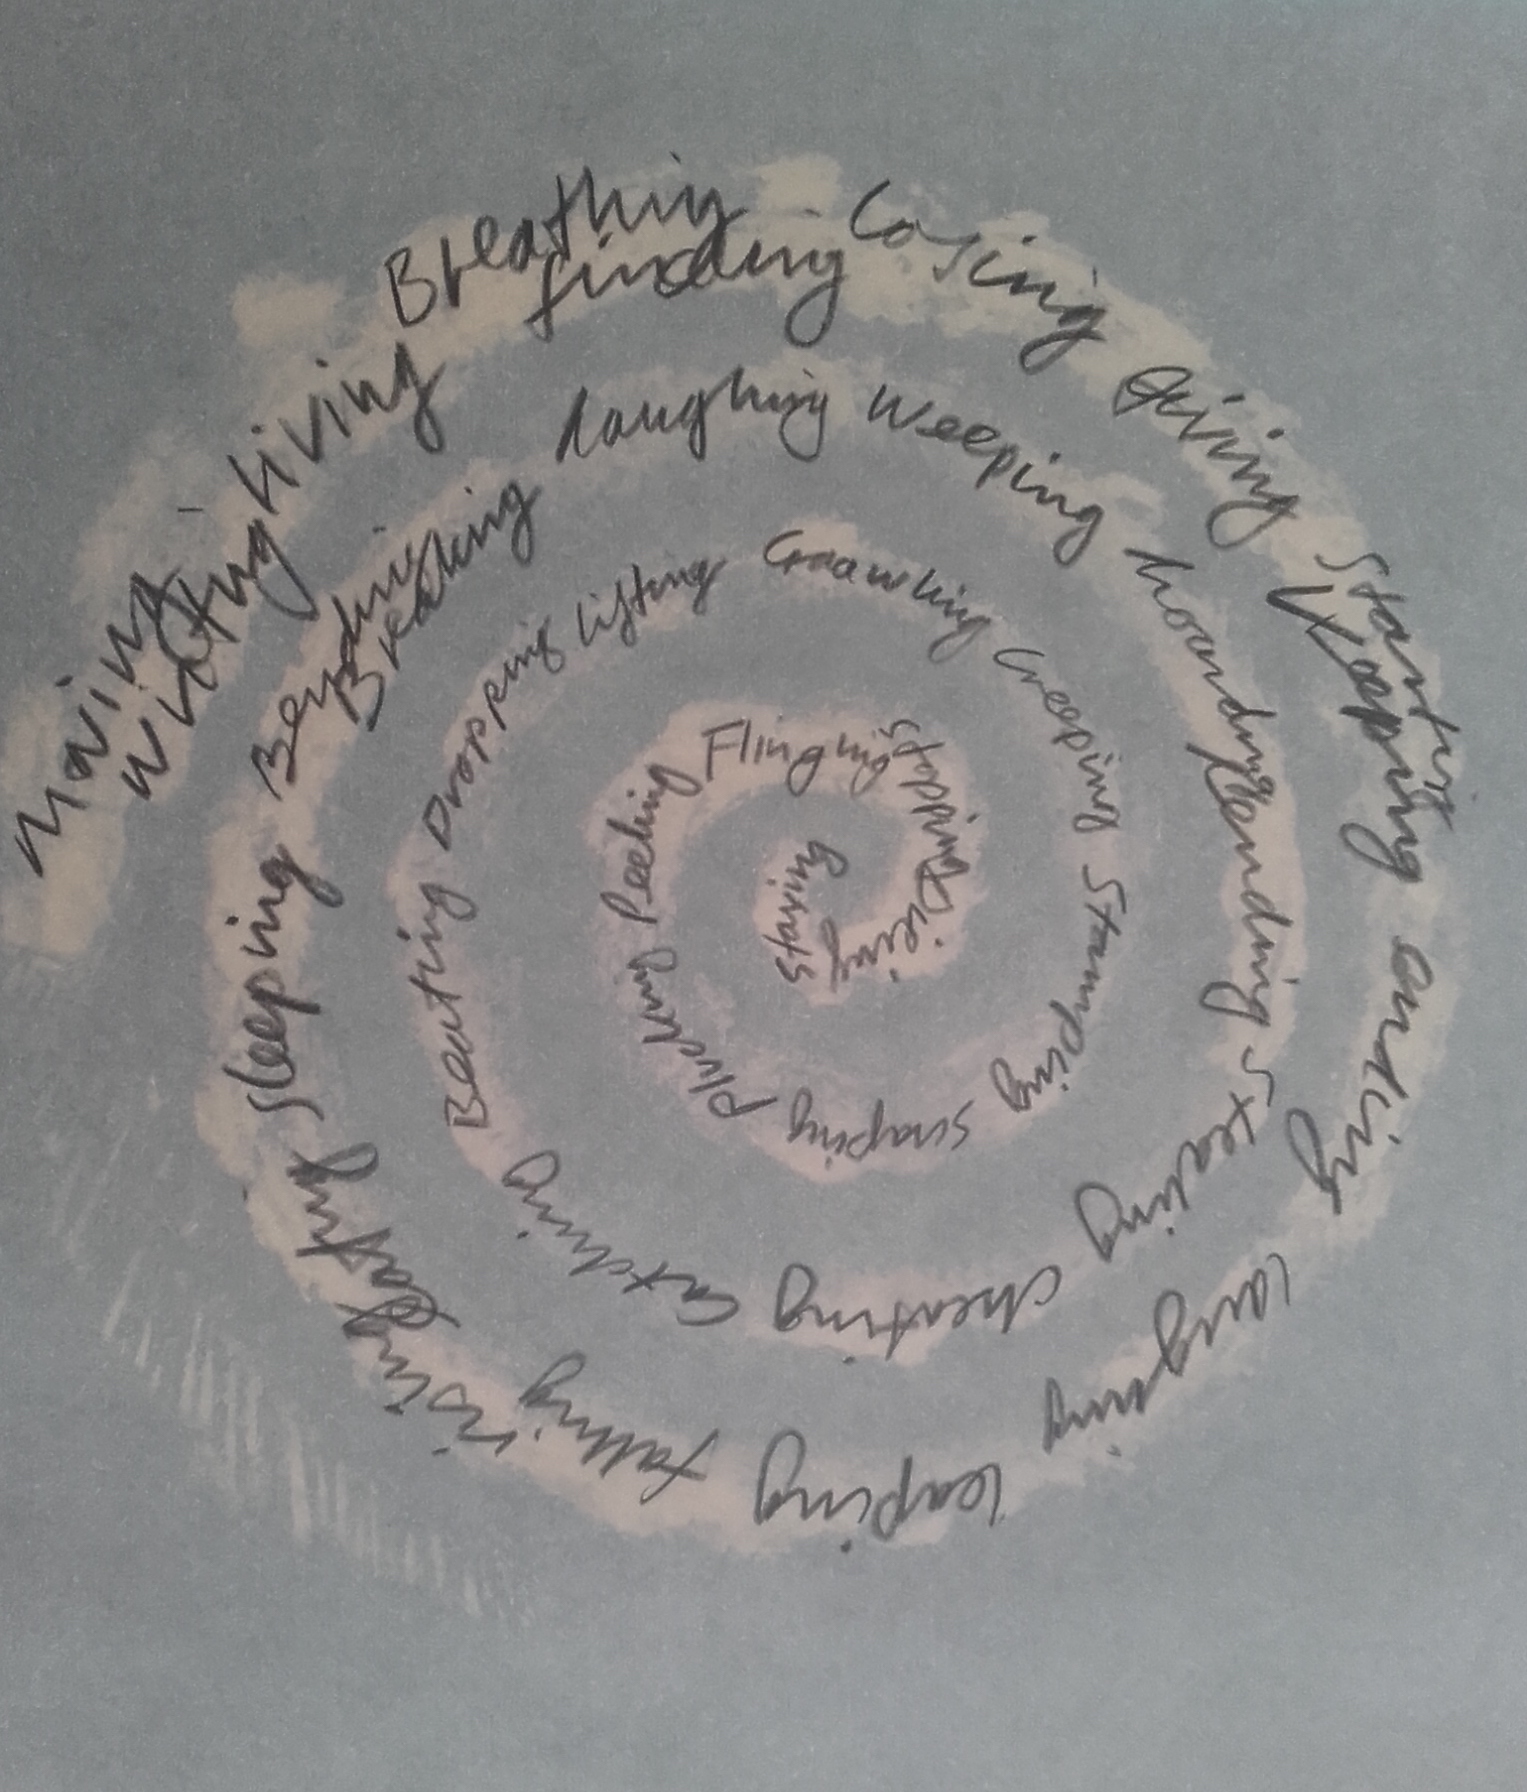
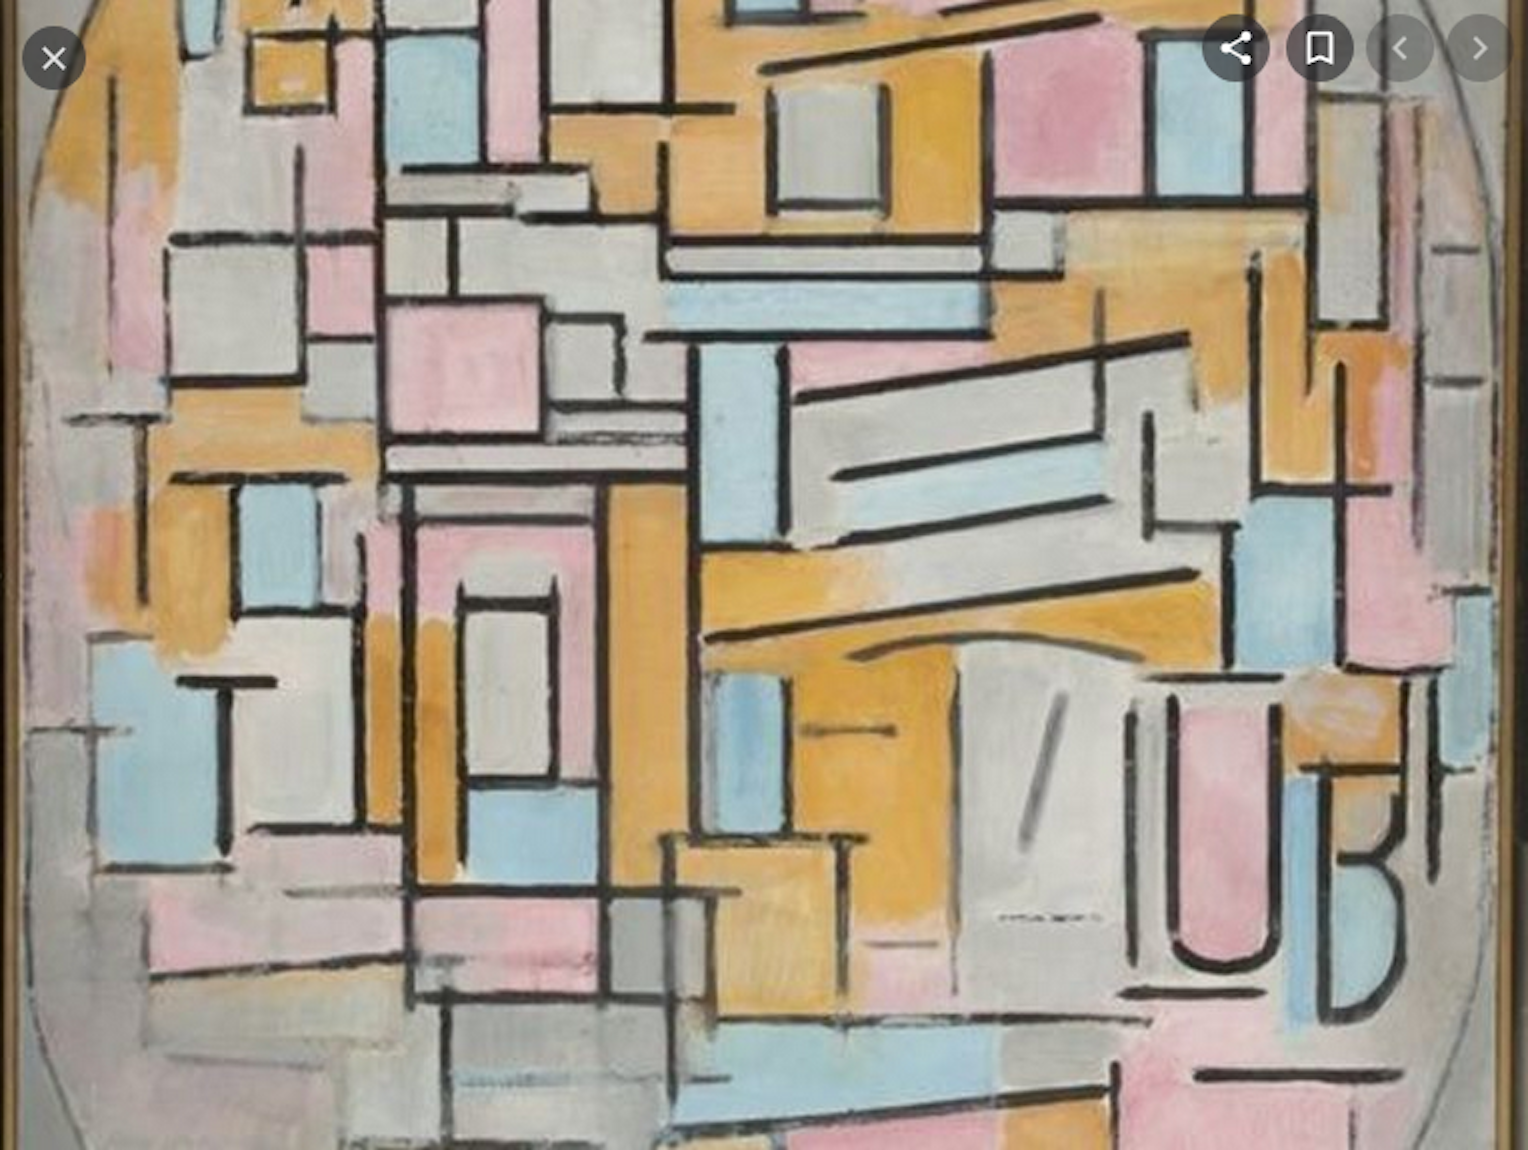
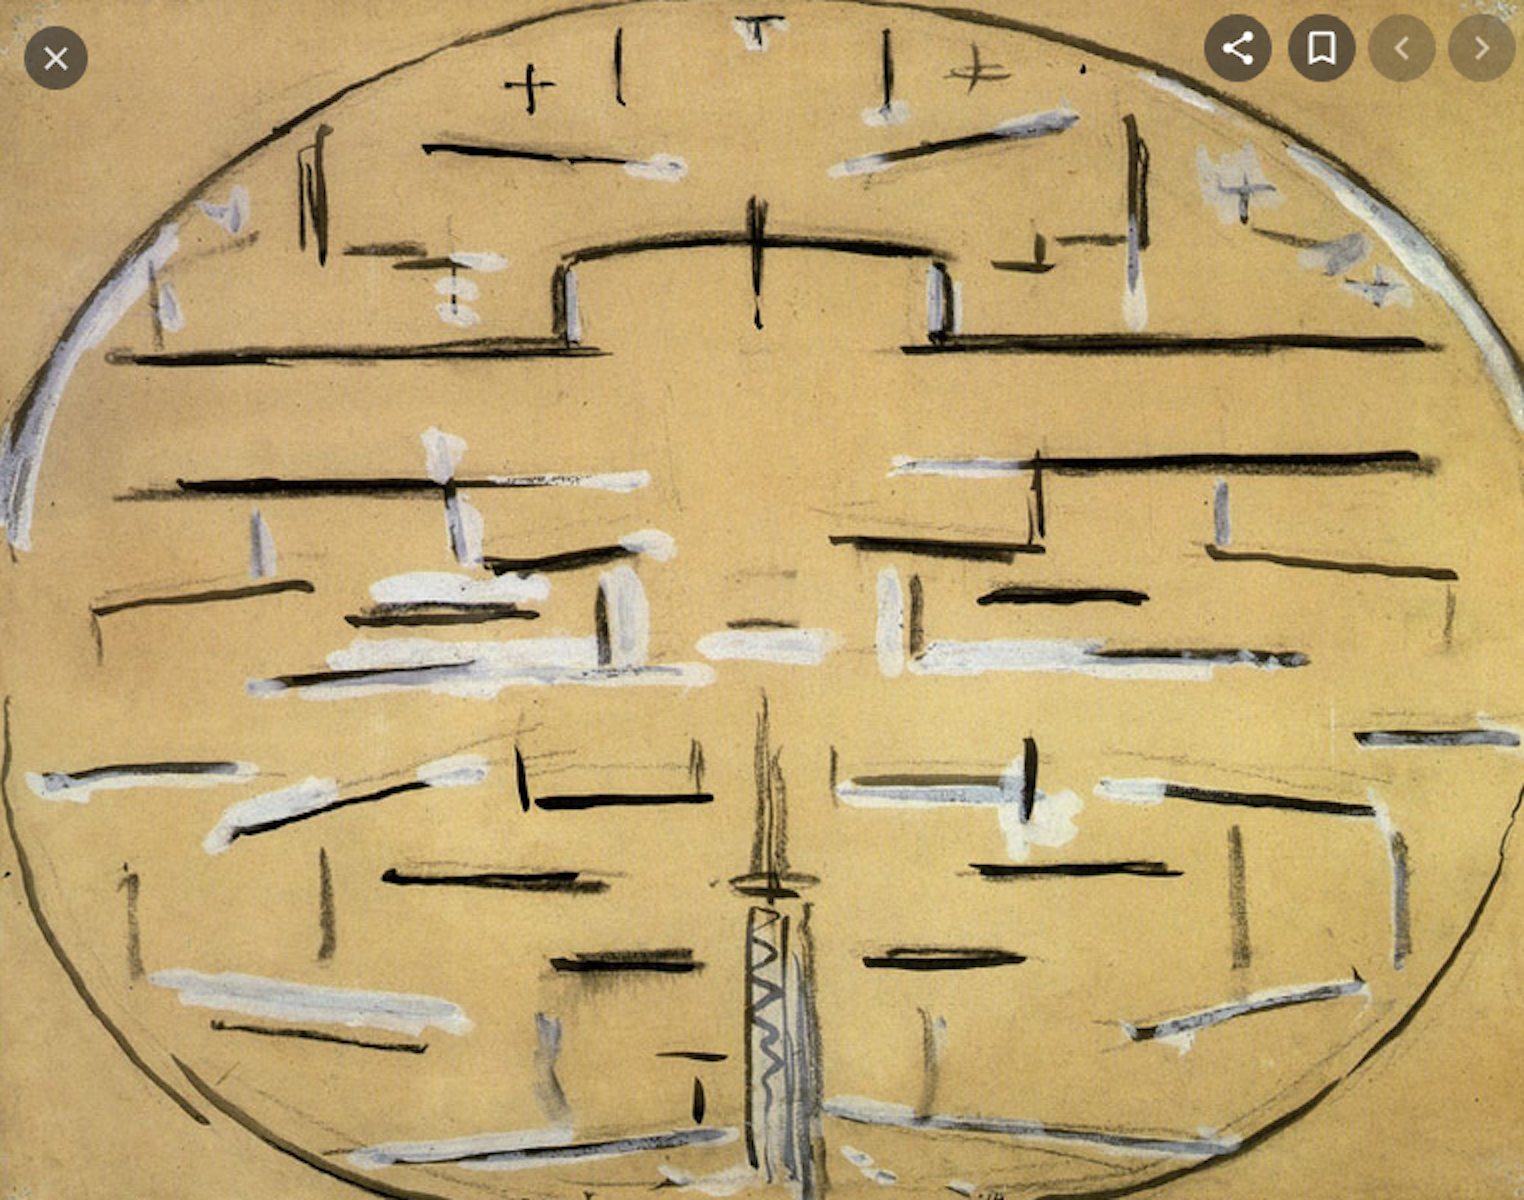
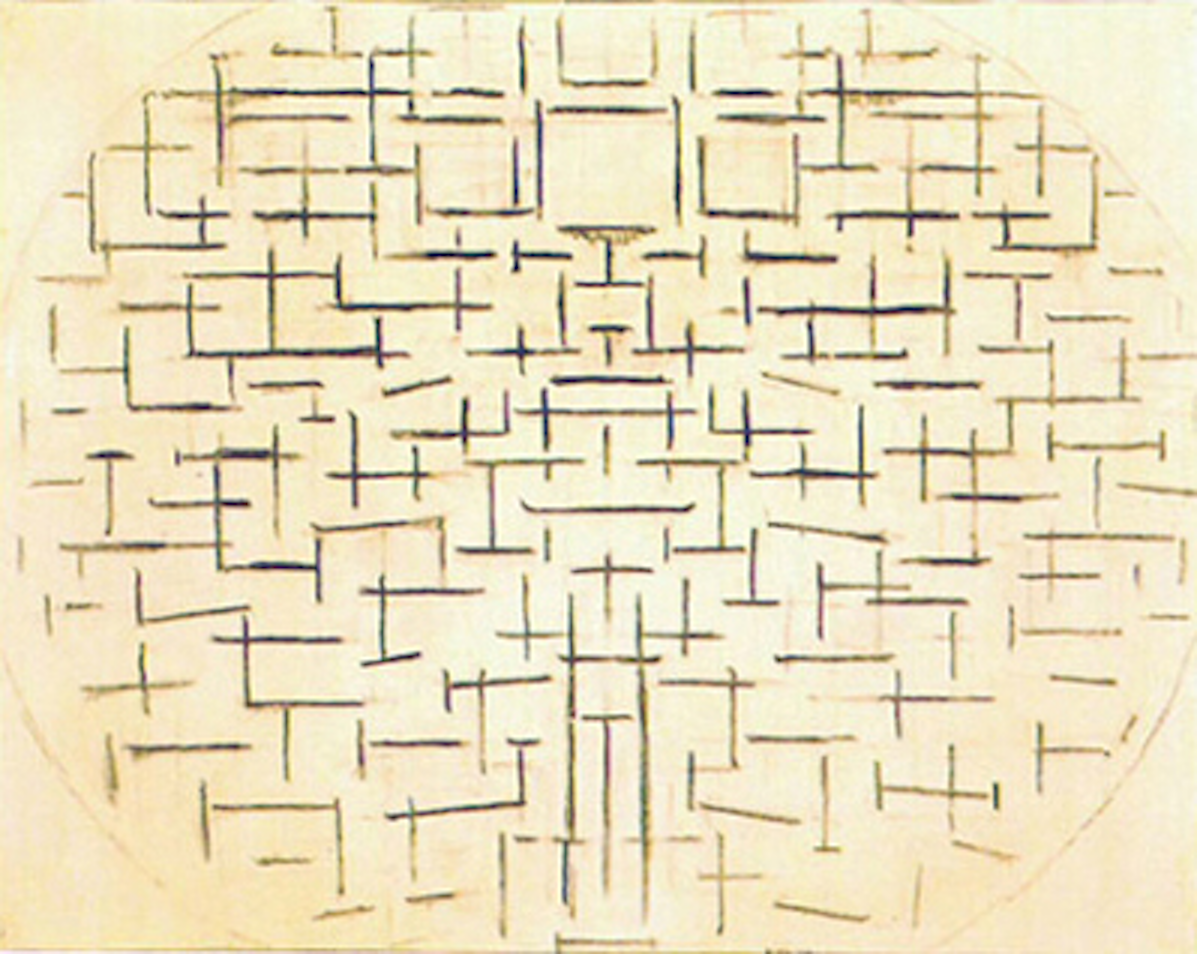
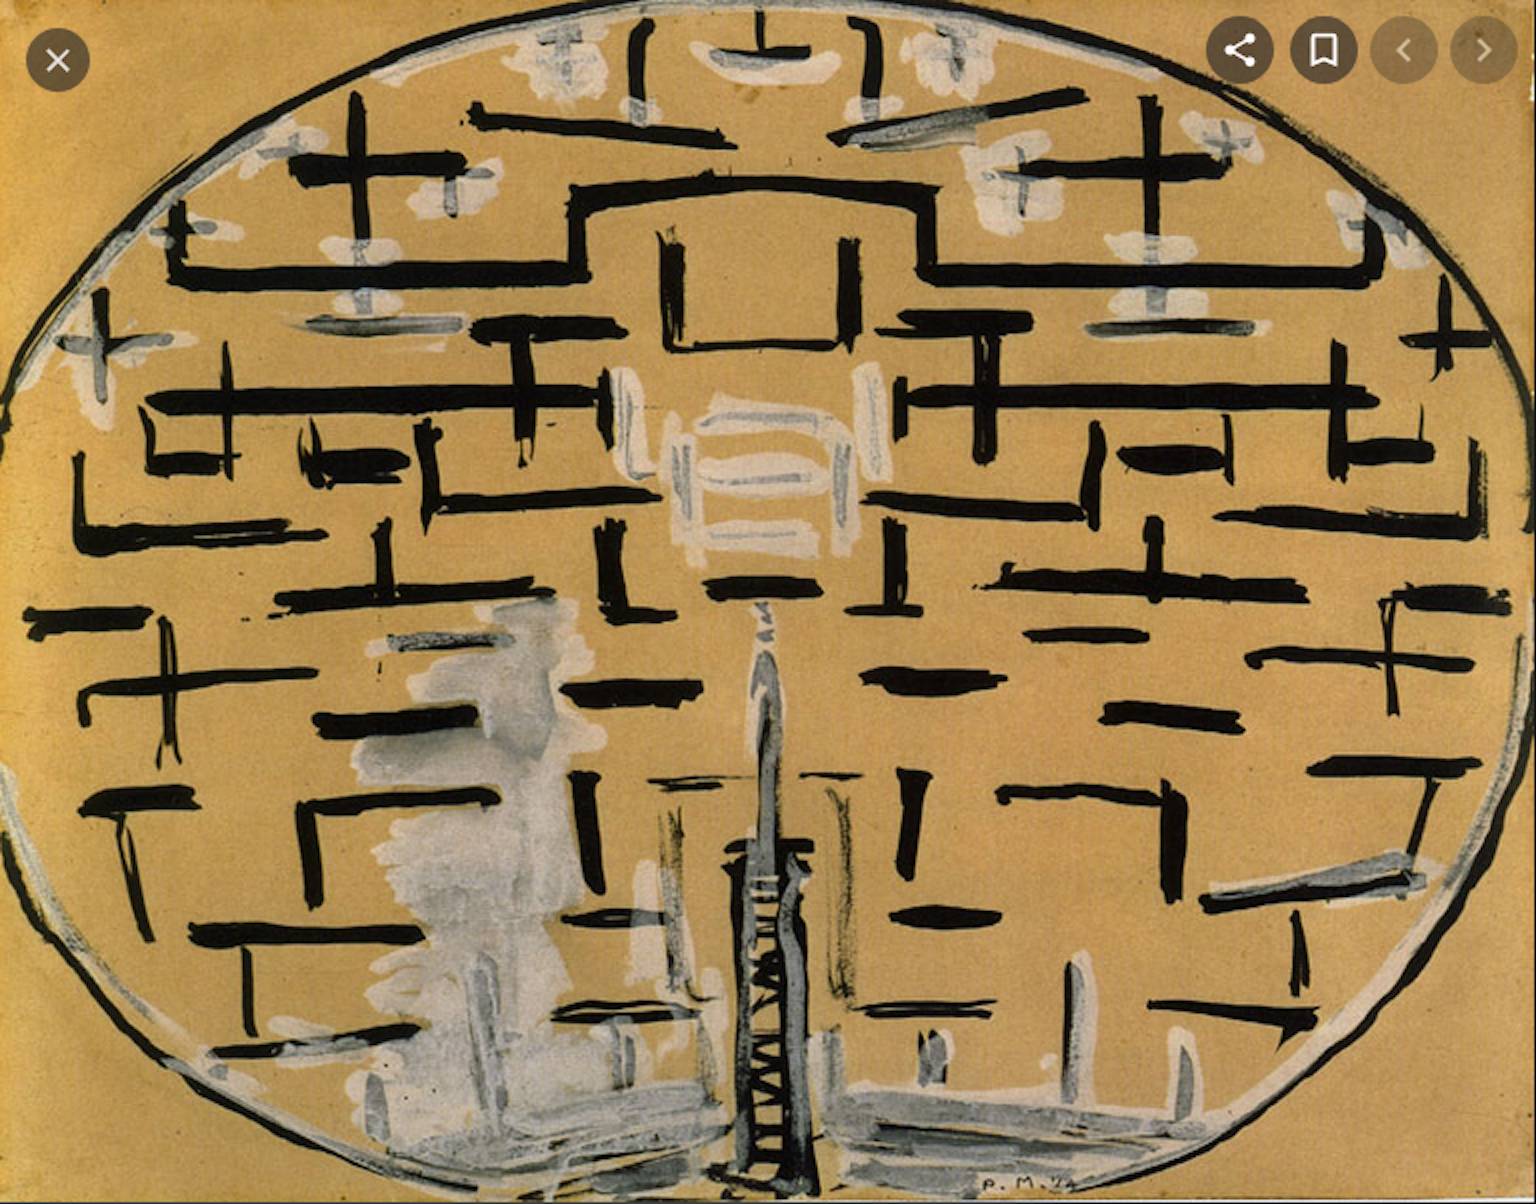
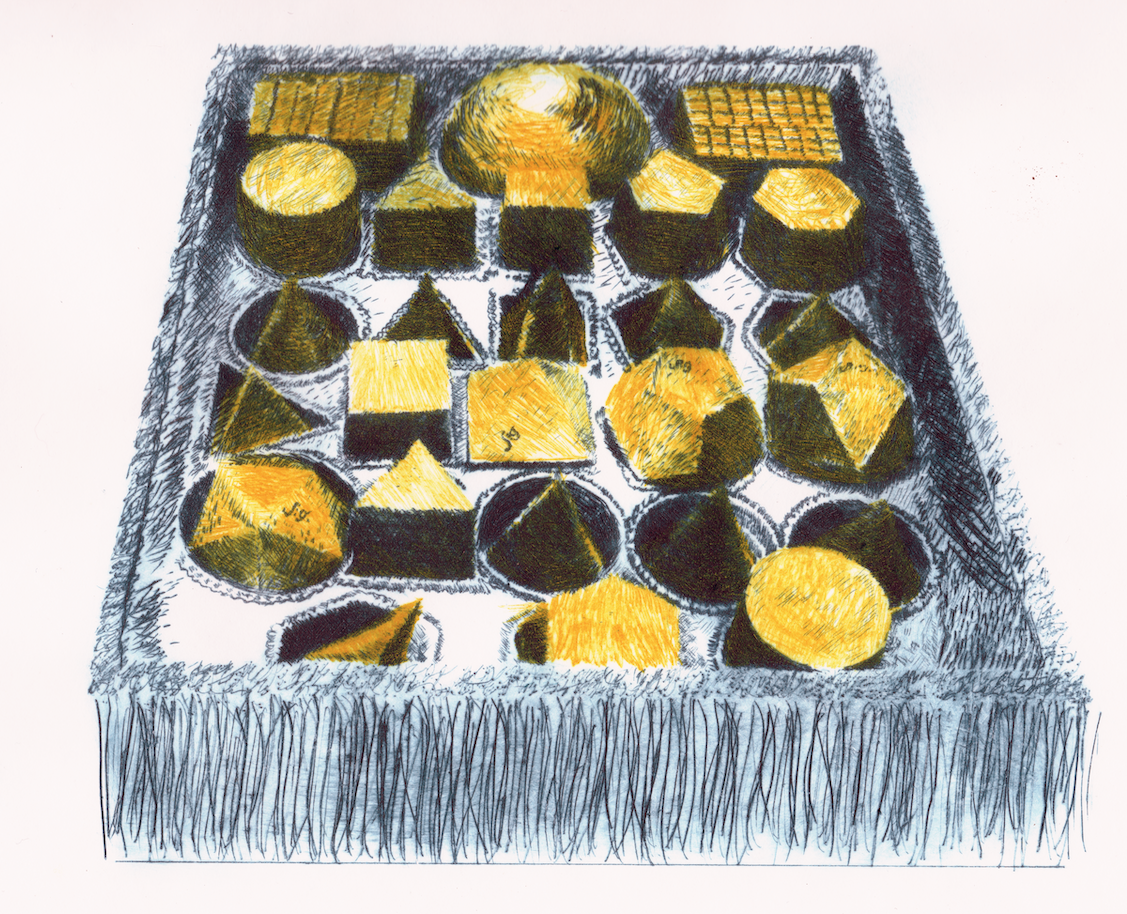
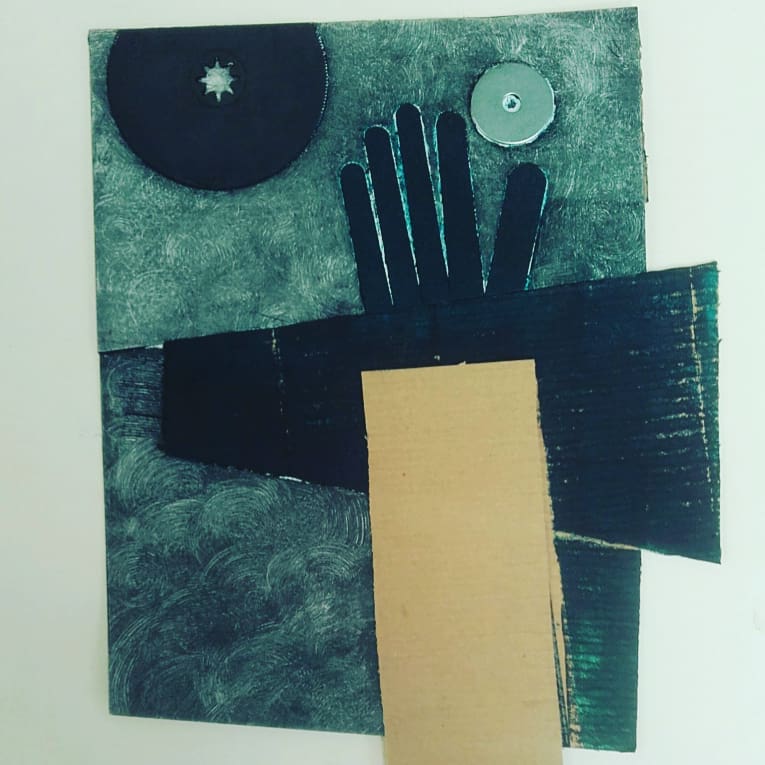
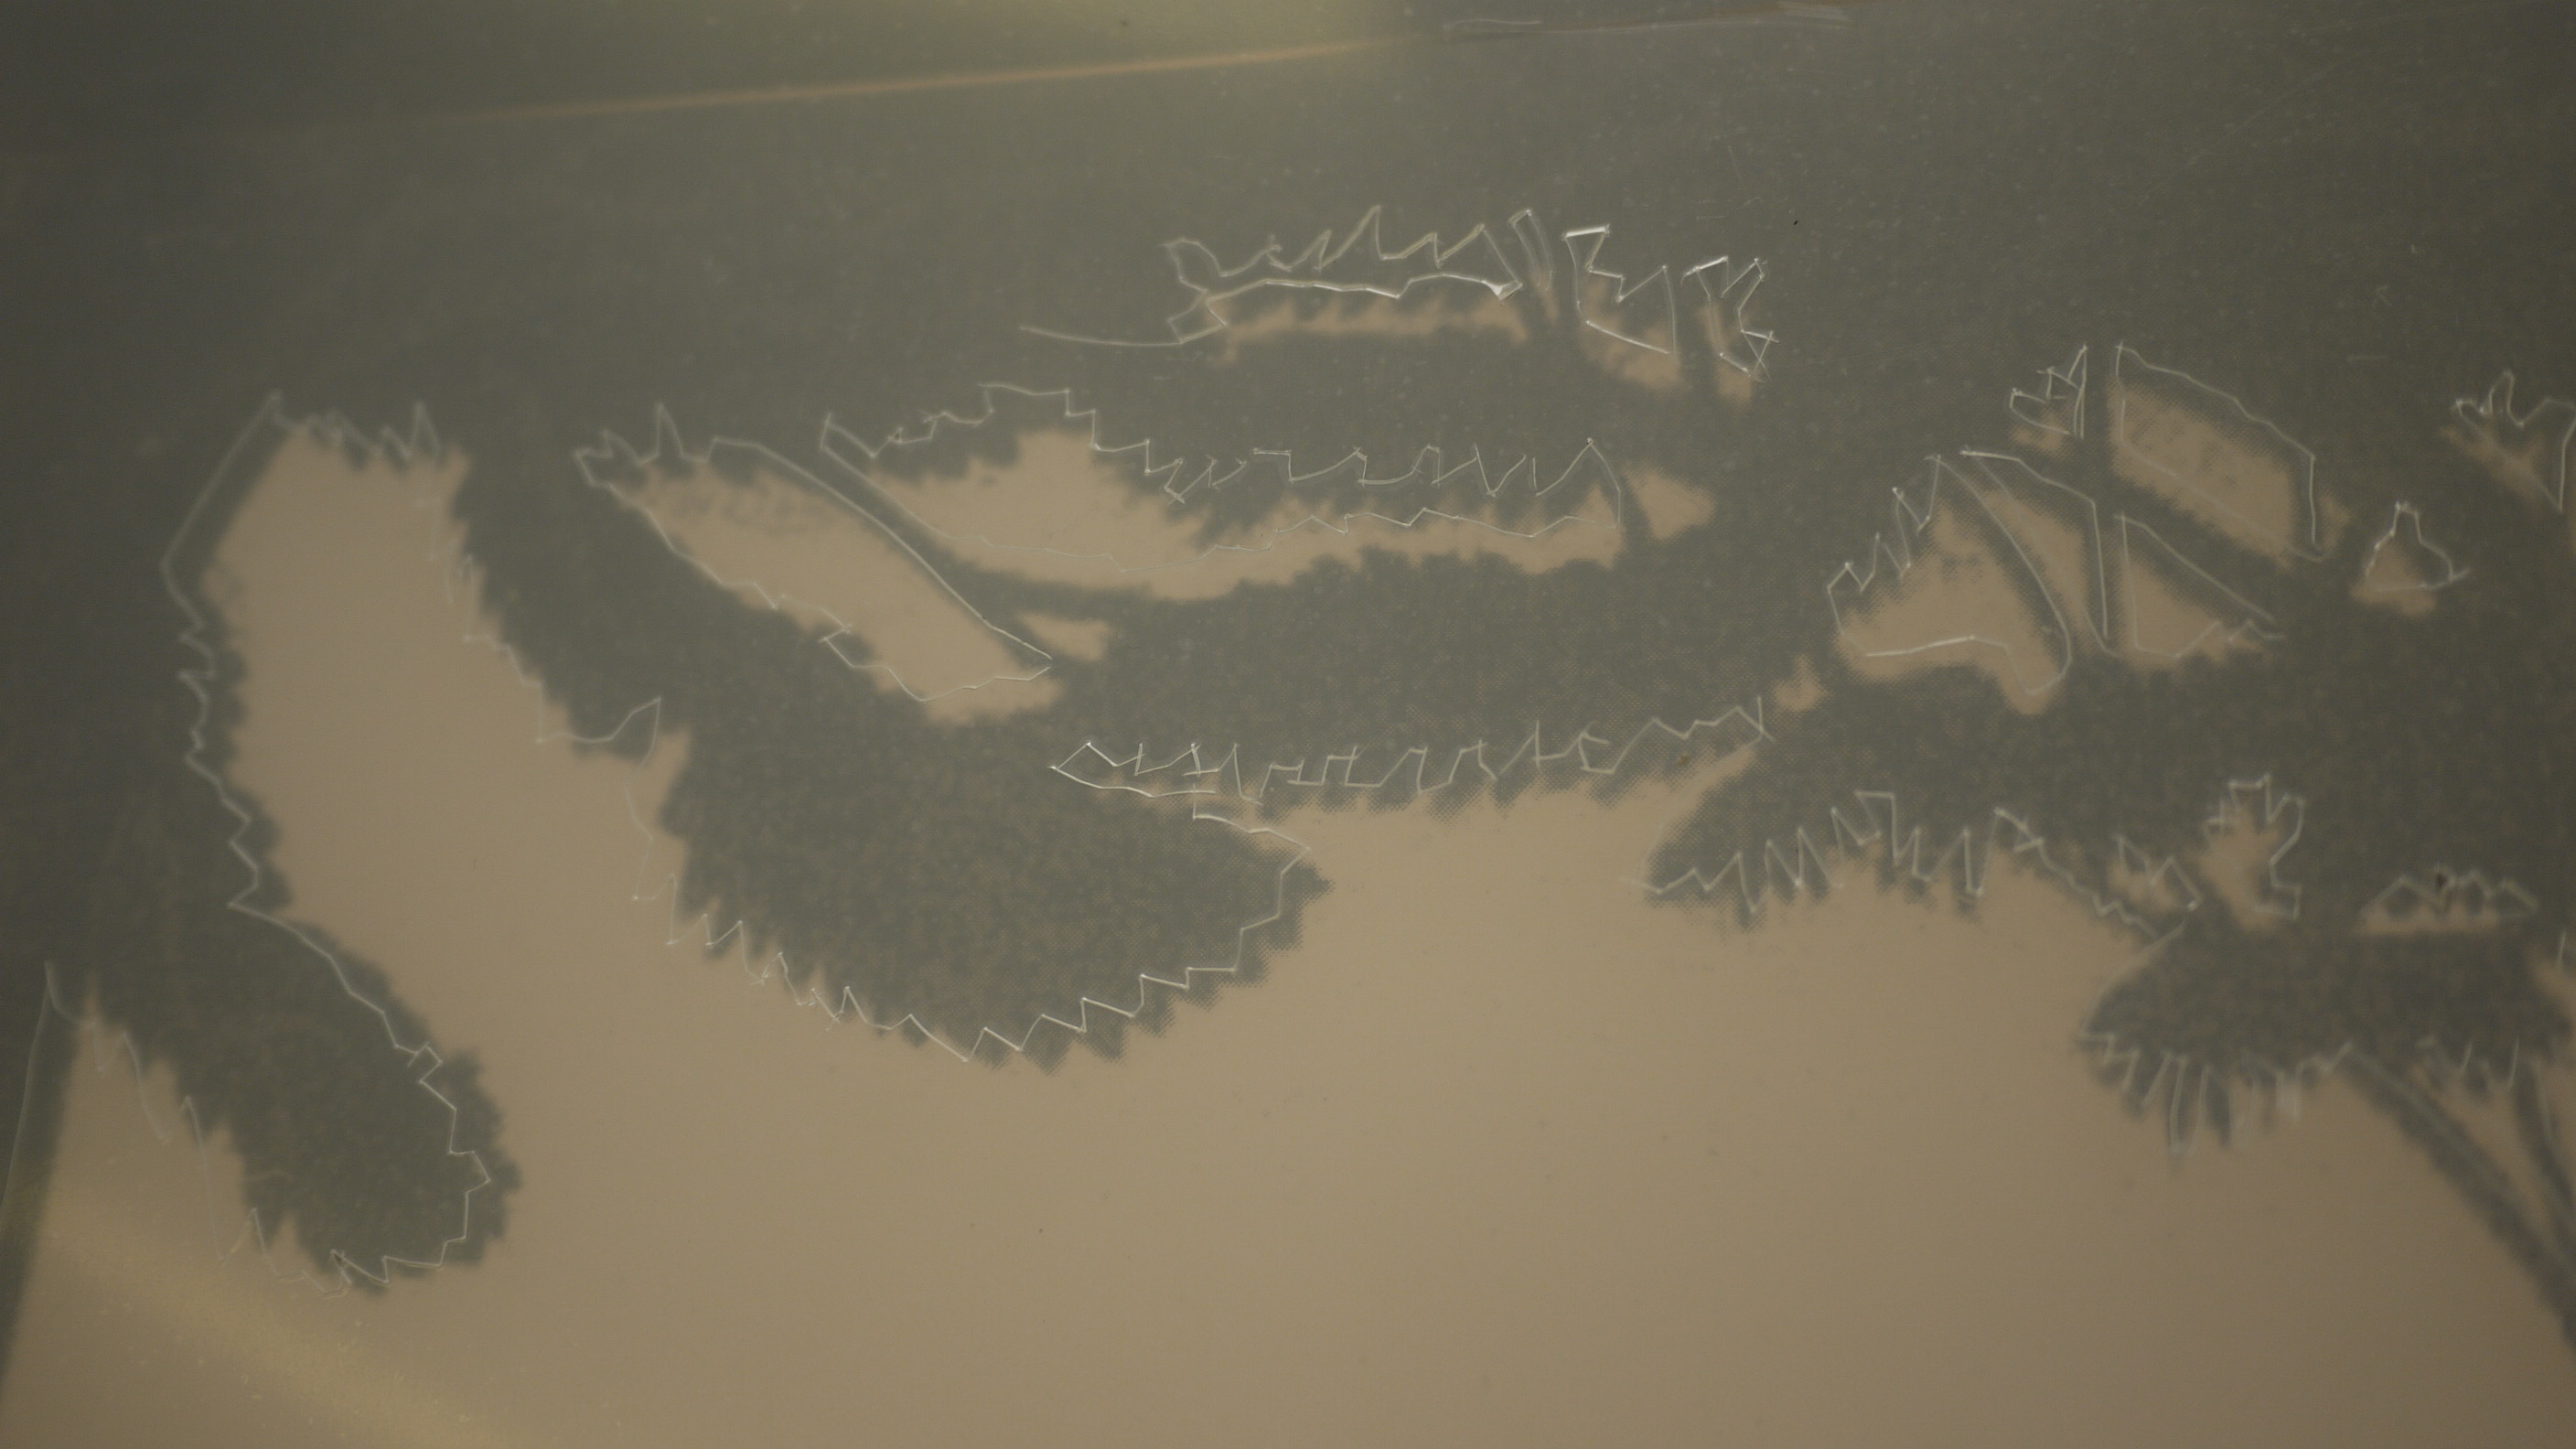
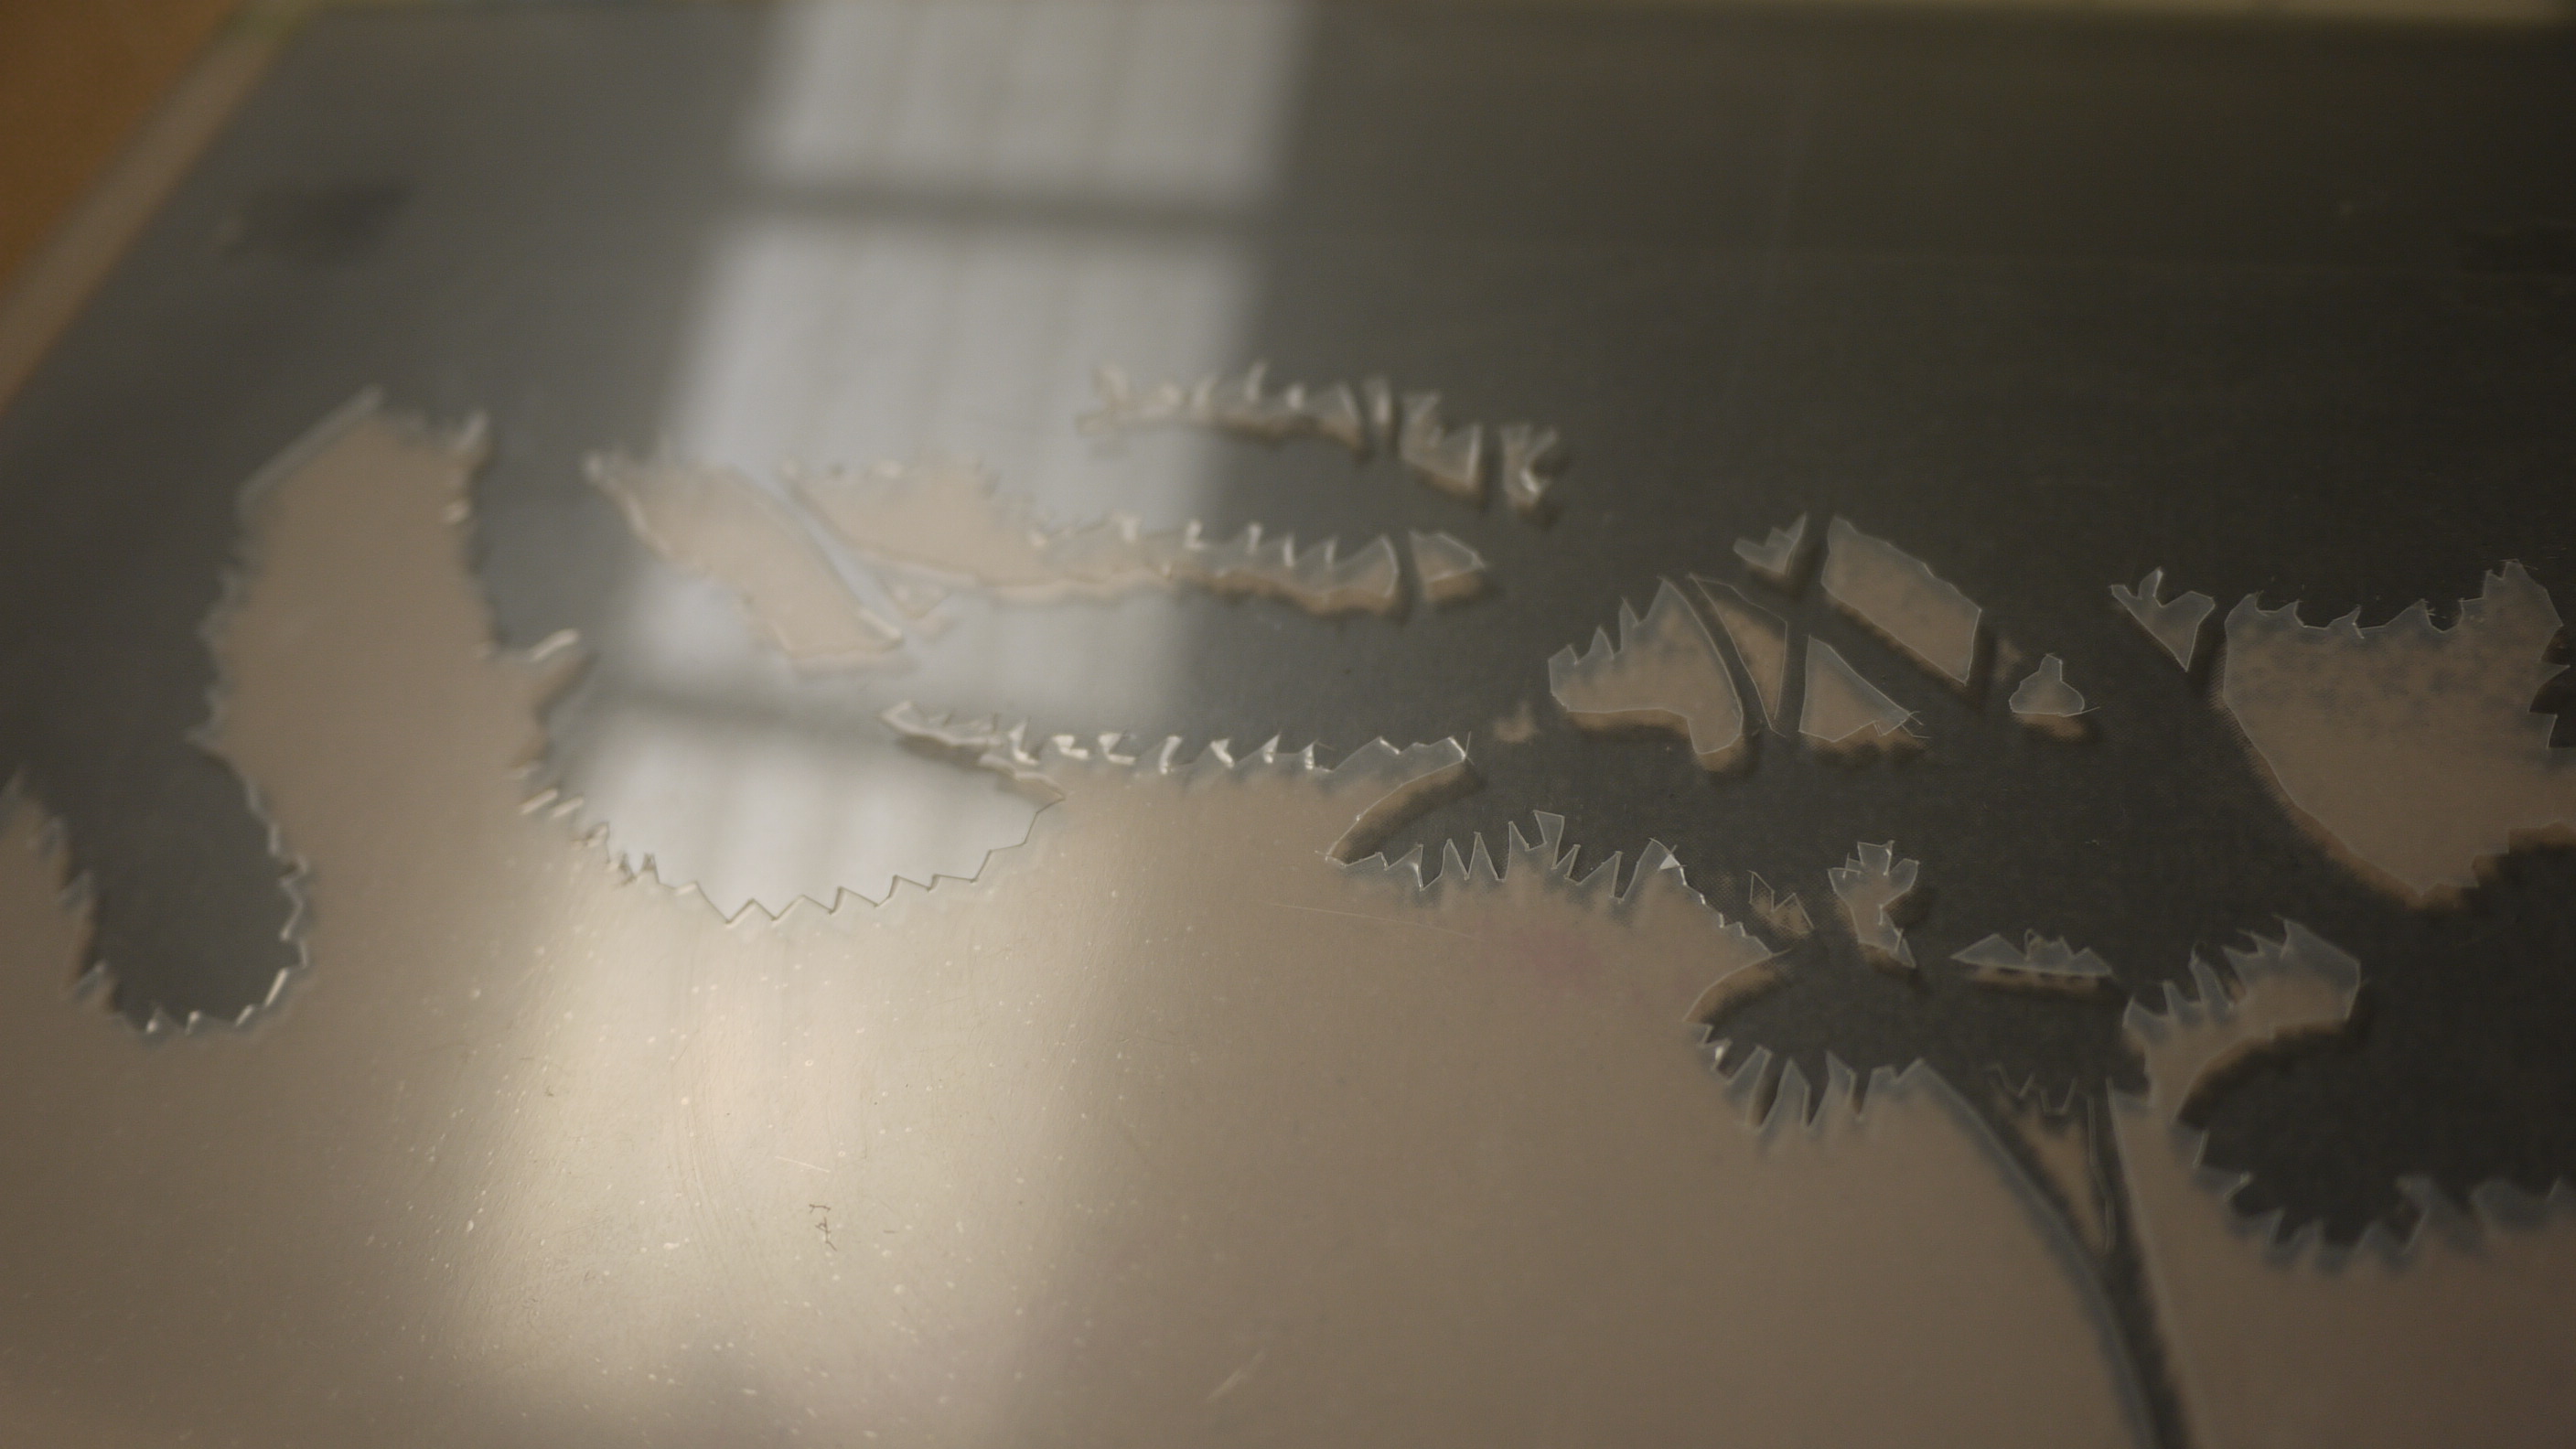
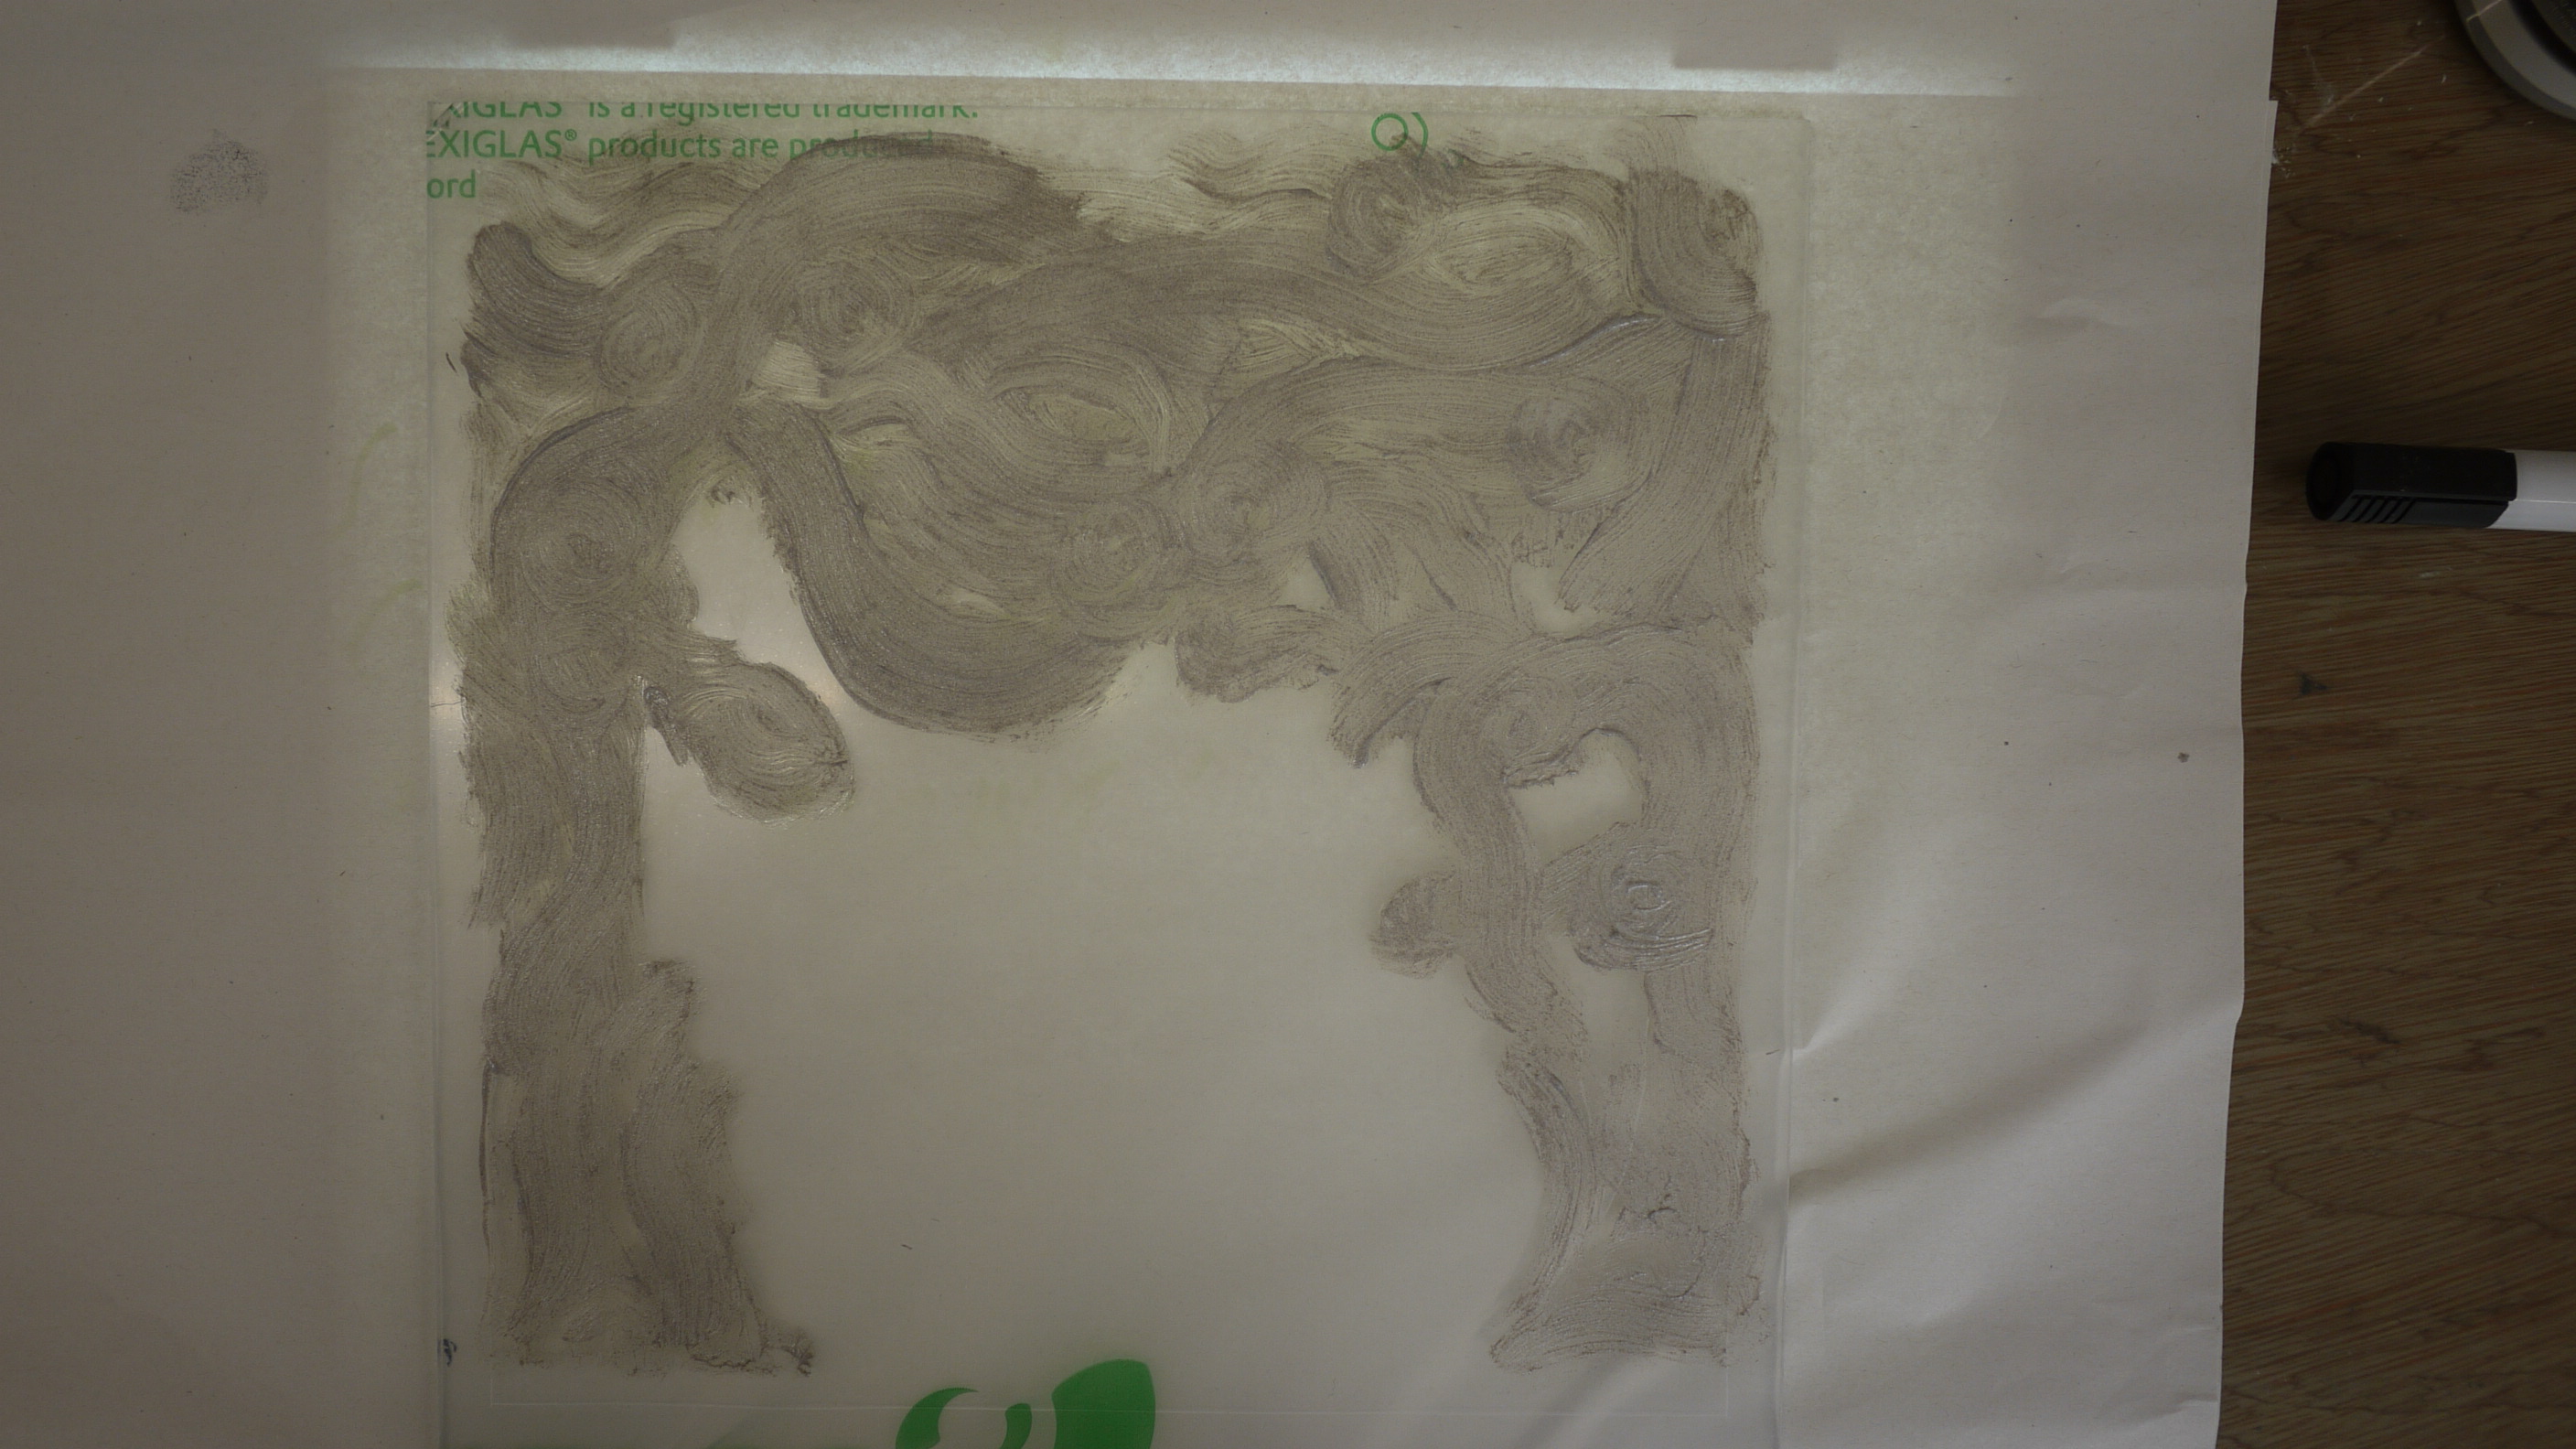
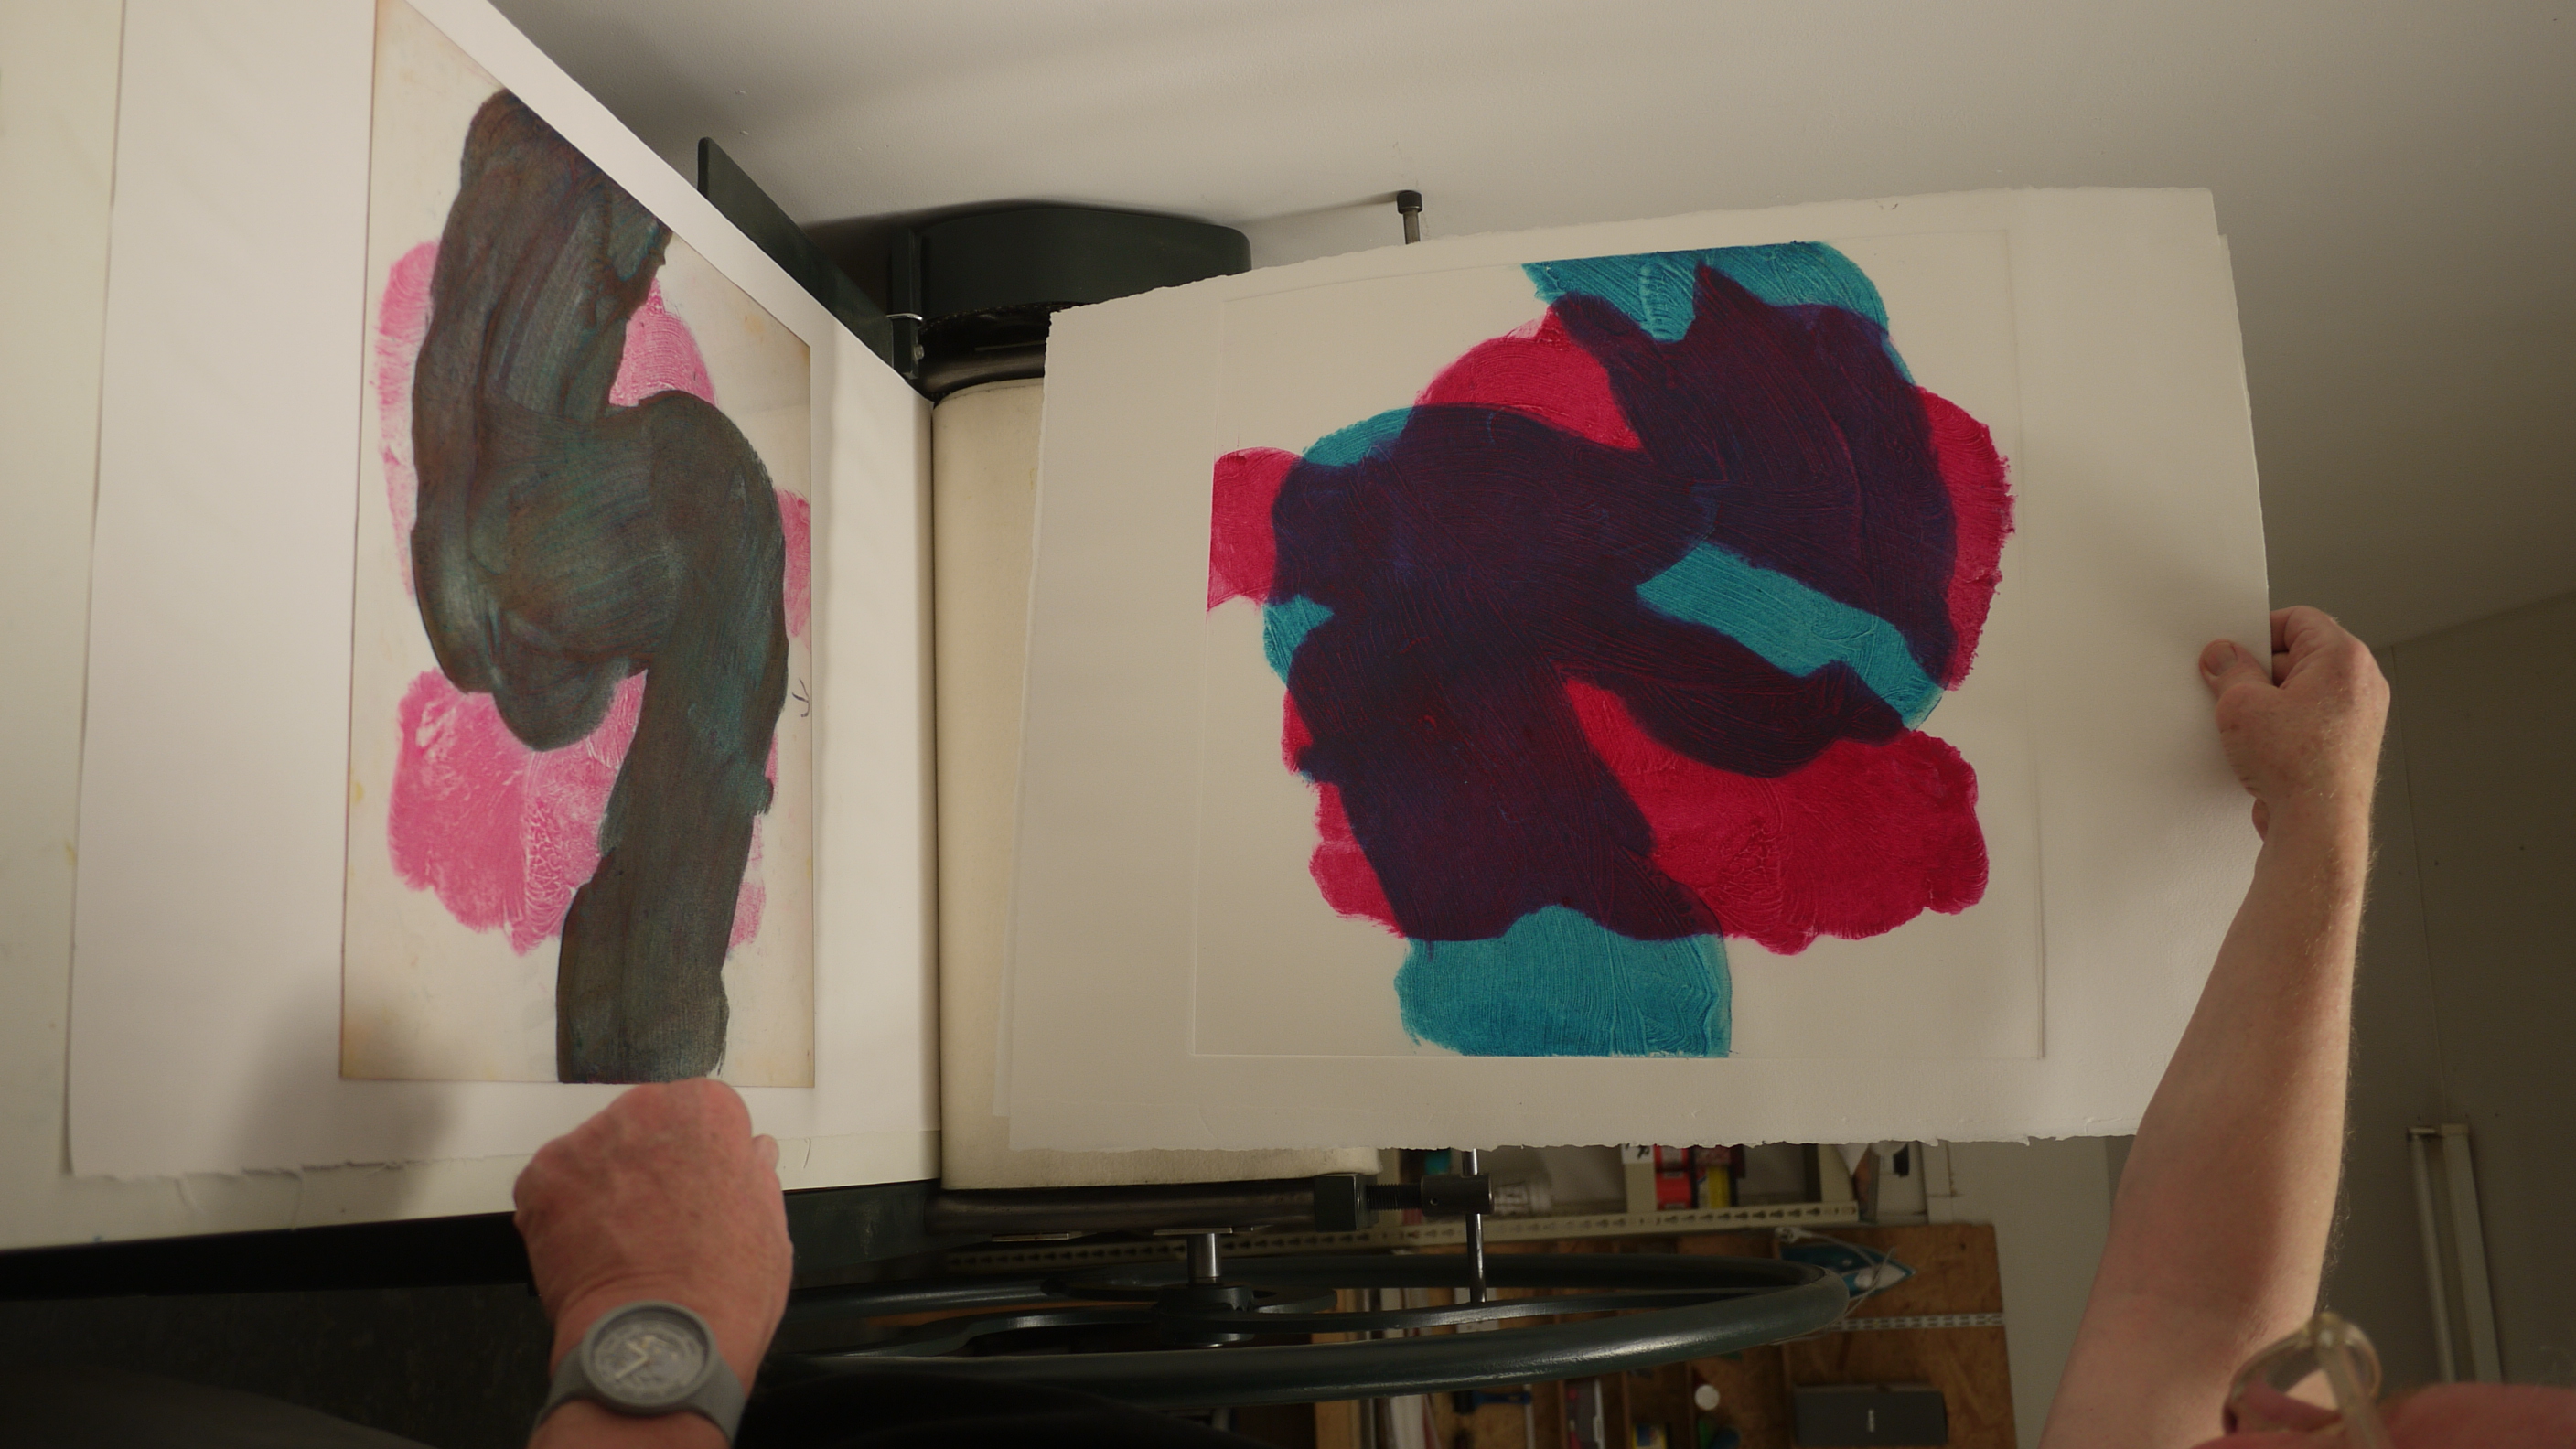
Here are a few inspirational images of Electro-Etching work from printmakers, craft makers and jewellers to give you an idea of what’s possible:

Electro-etching is not new! Some of these techniques have been used in mainstream printing since Victorian days. With the increasing interest in alternative and hybrid etch processes and a growing awareness of the health hazards associated with traditional acid etch, electro-etching has over the last ten to fifteen years become extremely popular and has attracted the attention of a new generation of artist-printmakers.

Many of these are not only very inexpensive and very low toxicity (unlike traditional bitumen based etching grounds) but also offer a very wide range of textures and tones. In this second session we see how to do safe and exciting etching both in the studio and at home without the need for dangerous acids or bitumen grounds.

Further Explorations…
If you would like to explore the amazing possibilities of electro-etching further then please get in touch right away. We are keen to go deeper into this very exciting subject by arranging some more advanced custom courses and by setting up a small workshop development group. Get in touch and let’s talk electro! or call/text John Wallett on 07757 305 327


Further Resources
Electro-etching resources


1/ Cedric Green

Veteran electro-etcher with extensive website plus (free) downloadable publication.

Website
https://www.greenart.info/green/

Green Prints pdf
https://www.greenart.info/pdf/Greened18%20A4.pdf
(or Download  here)


2/ Alfonso Crujera

Electro-etching Handbook

Alfonso Crujera’s handbook is the best publication we know on the subject.

https://www.en.crujera.com/electro-etching-manual/electro-etching-handbook-2/

Kindle Version
https://www.amazon.co.uk/Electro-etching-handbook-safe-non-toxic-approach-ebook/dp/B07FXK5YZM/
(price £7.61)

Paperback Version
There is a reference copy of this excellent paperback in the workshop. Please do not take it away. We will try to get hold of a PDF version of this book in the near future. JW 2024/06/23


3/ Ben Dory

Very informative notes on using Copper Nitrate for etching Copper, Brass or precious metals. This article includes some more advanced chemistry and is quite critical of the use oof salt solution as an electrolyte.

Click to download here


Brightlingsea Winterfest 2024: ‘Bloom Nourish & Flourish’

On Saturday February 17th we will be running two hands-on print sessions at the excellent Brightlingsea Winterfest where the theme is ‘Bloom Nourish & Flourish’. These taster sessions will be on acrylic plate ‘Drypoint’ etching combined with ‘Chine Colle’. The sessions will run from 10:30-12:30 and 1:30-3:30. (Sign up enquiries to Nicky Sheales nickysheales@gmail.com ) Sign up/book at The Mayor’s Community Day 10th Feb at the Community Centre 12-4 on the Wellbeing Day information table. https://brightlingseawinterfest.co.uk/events/mayors-community-day/

Shortly we will be adding more information about the processes of drypoint etching and Chine colle together with details of new drypoint taster sessions and short courses in this most accessible and creative printmaking process.

QR code for THIS page:

Drypoint Intermediate

Here are some breezy shots from this weekend’s Intermediate Drypoint course. Two other people were unable to come but Dirk Paterson, Jo Kingsford and Jayne Wallett all seemed to have had a good time.

There seems to be a lot of interest for more sessions with a small focussed group of people who already have considerable drawing skills who want to apply these and use the great range of line tone andd texture that drypoint can offer.

Two half days (1-5pm) some quite sustained drawing and alot of very spirited inking with the very popular AKUA water-washable intaglio ink… plus of course our lovely big press!

Press for hire

Wivenhoe Printworks have a very nice compact press available for hire at a very modest rate. It is a really nice machine and we love it a lot, but we don’t quite have the space to comfortably use it in the workshop right now. We would like to make it available on medium to long-term hire so that it is used and loved. Download pdf of photos and dimensions

Our proposal is to hire it out for a minimum of three months and then ongoing with a month notice on either side (thought we are very unlikely to need to call it back at short notice).  For hire rates and to discuss insurance etc please email John Wallett now.

The press breaks down convenienty into components: top roller, main drive mechanism, iron wheel, steel print plate and steel support frame. Each of these can be lifted and handled by one or two reasonably able-bodied people so with care it can be transported and reassembled without the need for specialist print-press transport. We can help arrange transport within a twenty-mile radius if necessary though the hirer would need to pay the cost of this. We do have an associate who can be called on to drive it for a very reasonable charge. We have disassembled and reassembled it so we can also help with that. The main requirement for its situation is to be in a firm and level ground-floor space that is not subject to excessive damp.

If interested or would like to take a look please contact John Wallett:
mobile: 07757 305327 landline: 01206 820849 email: johnwallettdesigner@gmail.com

Click photo for downloadable details


Intaglio press (also suitable for relief)

Maker: Littlejohn Graphic Systems
machine number: w 1596/5
no visible date (1970s ?)
Condition good

Dimensions

Base footprint 55x64cm
Bed 91x53cm (15mm steel)
Height of bed from floor apx 94cm.

Features

Ground steel print-bed with removable end stops, screw-adjustable plated upper roller 10cm Ø, direct drive lower roller 7.5cm Ø, gun-metal bearings, fully enclosed drive gearing, cast iron drive wheel & removable handle, steel under-shelf, plus basic set of blankets.

This is a very compact intaglio press with a floor footprint suitable for the smaller studio. The polished plated top roller and ground steel print plate are in good condition and the gearing and lower drive roller work very smoothly.

Roller height/pressure are adjusted with two screw knobs which also have lock-nuts. Some ‘give’ to the impression is provided by the use of stacked hardboard packers which are indicated in a close up. A simple vertical height scale is also visible on each side of the top roller. The two plate end stops can easily be removed for maintenance and cleaning.

Carborundum Printing Intro Course

Saturday saw our first post-lockdown Printworks course with day one of ‘Intro to Carborundum Printing’.

The ‘Carborundum’ process (developed in the 1930s and onwards) is in essence the application of a mix of thick ‘impasto’ (paste) acrylic binder and Carborundum powder (very fine hard Silicon Carbide grit) onto the surface of a metal or plastic printing plate. The mix is worked and spread out on the smooth surface of the plate, allowed to harden over 24 – 48 hours, then inked and printed as a deep intaglio collagraph print. The results are often unusually stunning with their rich tones and their capacity for creative colour inking.

The Carborundum powder creates an amazing range of textures which have great capacity for holding ink. The thickness of the mixture, hardness of the grit and effects of brush or scraper to create marks and strokes in the mix all contribute to a very rich and varied inking surface.

Printing these plates onto well-dampened rag paper under a high pressure etching press results in a very striking range of ink tones together with an incredibly lively print texture. The toughness of the grit/binder mix allows for medium editions with good plate life: editions of between 10 and 30 are often very successful and retain great freshness of tone and texture.

Pre-mixing the ink (usually oil-based etching inks) with a very large proportion of oil-based extender allows under-colour to show through and creates some stunning colour mixes with two to four colour plate printing.

In this two-day intro course we will explore the practical and creative use of this versatile and tactile medium to create some large, lively and very expressive prints.

This two-day course is now fully booked up but we will definitely be running a further weekendnder or other two-day Carborundum course in the very near future. Please get in touch if you are interested in this enjoyable and very versatile print process!

Programme:

Day 1

  • Principles of textured collagraphy
  • Overview of the Carborundum print process
  • Examples of Carborundum prints
  • Some images inspirations (sketching for Carborundum *)
  • Grit size, consistency, ways to apply the Carb/Gel mix
  • Using templates and light box
  • Spreading, combing, brushing and gestural forms
  • Stencils, silk screens and pressed-on textures
  • Gel viscosity and water content: working wet and dry
  • Curing our plates

The first day will start with a review of how Carborundum printing relates to other intaglio work and what makes it such a rich and enticing process…

We will look at the main stages of the process from prep to plate to print so we see where we might be heading…

Then we start mixing up our gritty gels and making sample plates of our own using brushes and spreaders: getting a feel for the material in its sticky state, celebrating its adhesive and drying qualities.

As the day progresses we will experiment with different ways to apply our gel surface, making brush and spreader marks with it.

We will go on to use masking tape, paper /film stencils (plus old silk screens) to create and shape areas of even, almost ‘mezzotint’ tone.

We will see how to manipulate and mark into these slowly drying surfaces to create drawn or impressed images, patterns, textures and tones. And we will see how useful it can be to have a lightbox so we can work over a base drawning or photo, manipulating, working up and wiping off areas of the sticky grit gel before they dry.

By the end of day #1 we should have a very interesting array of small test plates plus a couple of bigger plates that we will dry and harden ready for some enterprising inking-up and printing when we hit the second day!

Day 2

  • Plate handling
  • Ink and extender
  • Inking up/blotting off
  • Paper, wetness and press pressure
  • Overprinting
  • Hybrid print processes
  • Cleaning up

We start day #2 by handling and looking at our cured plates.

Carborundum plates have a very dense texture. This means they take up masses of ink. They also have a slight relief surface. So inking up with pure etching inks would normally cause our plates to stick to the paper and even tear its surface off.

Pure etching inks are also very rich in pigment, so it’s important to mix up our inks with LOTS of extender. A safe recipe is 20% ink to 80% extender (even 10% ink to 90% extender). Mixing hint: start with a FINGER of extender and add a TINY bit of ink at a time! The extender loosens the ink, makes it more translucent and prevents paper surface tear.

We will make up some coloured inks as well as blacks. One great beauty of Carb printing is its capacity to overlay two or three translucent layers of saturated colour on top of another. We mix up and apply our extened inks, blotting off the surplus, rubbing in and then wiping around our textured areas. In this process we use a lot of tissue to blot off the ink, rag (to wipe clean the clear areas of the plate), and we use  CLEAN scrim (unlike in some metal plate inking) to wipe in and off our ink .

We will proof our test plates, experimenting with colour and tone overlays, printing multiple plates in quick sucession to avoid paper dry-out and registration issues.

With our larger plates we will fine-tune paper moistness and press pressure, making two or three-colour prints.

And we will if time permits try combining our Carb plates with simple monoprints or quick drypoints for some interesting hybrid effects…

By the end of day #2 we should have achieved a range of test proofs and produced some very saturated colour/tone overlay prints showing the rich surface and translucent colour results typical of this very tactile deep intaglio process.


Some resources

Inspiration images:

John Wallett and James Anderson
Mixing/Applying Carborundum Grit and Tempera Paste / Gel at Wivenhoe Printworks 2021:

James Anderson slideshow
Printing two-colour Carborundum Prints at Wivenhoe Printworks 2021:

James Anderson (contact details)
instagram: https://www.instagram.com/jamesanderson1951/
website: https://www.jamesandersonart.com/
email: jba@katrinaerhttps://www.youtube.com/watch?v=jInRoHwPd-sskine.co.uk

Susan Rostow (developer of Akua inks) Carborundum Mezzotype prints

Susan Rostow on using Akua Carb Gel to create pattern-rich intaglio prints

Howard Hodgkin Carborundum Prints

footnote:

James Anderson: Carborundum Prints

Today we had a visit from printmaker James Anderson to test out the big press doing some Carborundum Prints.

The process in essence is to apply a mix of acrylic binder and fine Carborundum powder to the surface of a metal or plasTic plate, let it dry and then ink and print it as an intaglio collatype print. The Carborundum powder creates a range of textures which have great capacity for holding ink. The thickness of the mixture, percentage of Carborundum to binder and the effects of brush or scraper to create marks and strokes in the mix all contribute to a very rich inking surface. Printing this onto a dampened etching paper with a medium-high pressure results in a striking range of ink tones. Pre-mixing the ink with a very large proportion of oil-based extender allows under-colour to show through and creates some stunning colour mixes. The images here are the inking and printing stages, and show the beautiful saturated colours and the textures achieved with this process.

In July we plan to get James to return and do a demonstration of this fascinating process from the beginning: preparing the Carborundum mix, making the plates, inking and printing. We are sure that this demonstration will be of great interest to Printworks Members.

Further details
James Anderson
instagram: https://www.instagram.com/jamesanderson1951/
website: https://www.jamesandersonart.com/
email: jba@katrinaerskine.co.uk
mobile: +44 7786 266 815